January 31, 2010
This evening, another reprieve from The Game, I took my meal off to have Moroccan food with a friend of mine. The food was so enjoyable! I had an appetizer of ground beef mixed with nuts and sultanas and lots of spices. So delicious! During dinner, my friend told me that she heard that spicy –as in hot – food can boost your metabolism. Interesting. Today’s question is: can spicy food increase your metabolism?
A: Capsaicin is the source of heat in chilli peppers and once consumed, raises the body’s temperature. This heat generation, does in fact increase metabolic rate which burns extra calories after a meal. Studies have shown that eating a spicy dish in a meal can increase a person’s metabolic rate by 8%, which is not significant enough to promote weight loss.
Studies have also determined that spicy foods increase the feeling of satiety and that capsaicin may work as an appetite suppressant.
A research study focused on a group of adult men and found that those who were served hot sauce with appetizers before a meal went on to consume on average about 200 fewer calories at lunch and in later meals than their peers who did not have anything with capsaicin. (Taken directly from The New York Times article)
Sources:
Diagnoseme.com: Spicy Food
The New York Times. Fitness and Nutrition. "The Claim: Spicy Foods Increase Metabolism". Anahad O’Connor. November 28, 2006.
Big Blog Candy Winner!!!!!!!!
Ok ladies, I have gone through, eliminated all double posts, and discounted posts after 11:59 pm last night. And I have a winner!!! Are you excited??!! I sure am!! Ok, here we go....from Random.org, here's what came up....
True Random Number ServiceRandom Integer Generator
Here are your random numbers:
96
Timestamp: 2010-01-31 20:27:42 UTC
Ok....now to go count! LOL! I'll be right back.....
Drum roll please....... THE WINNER IS........
Pam L!!!!
Pam L. said...
400 Followers! amazing. I am thrilled with my 66!LOL! I can't even imagine that many! Congrats.That tells me that you are already giving to your readers by posting your wonderful cards and projects. Thanks for sharing your talent and sweet personality with us!It's so generous of you to offer all of these wonderful crafting goodies!
Hugs,
Pam
January 11, 2010 4:34 PM
CONGRATS PAM!!!! Please email me your address so I can get all your goodies out to you. Also, please go over to The Cutting Cafe' and pick out which stamp set you would like to have, and then go to Peggy Loves Vintage and pick out your three sets of cut outs that you would like, and let me know!
A huge thank you to everyone that played along. Thank you so much for all your kind words and support! You are appreciated more than you will EVER know!! Enjoy the rest of your weekend!! Big hugs!
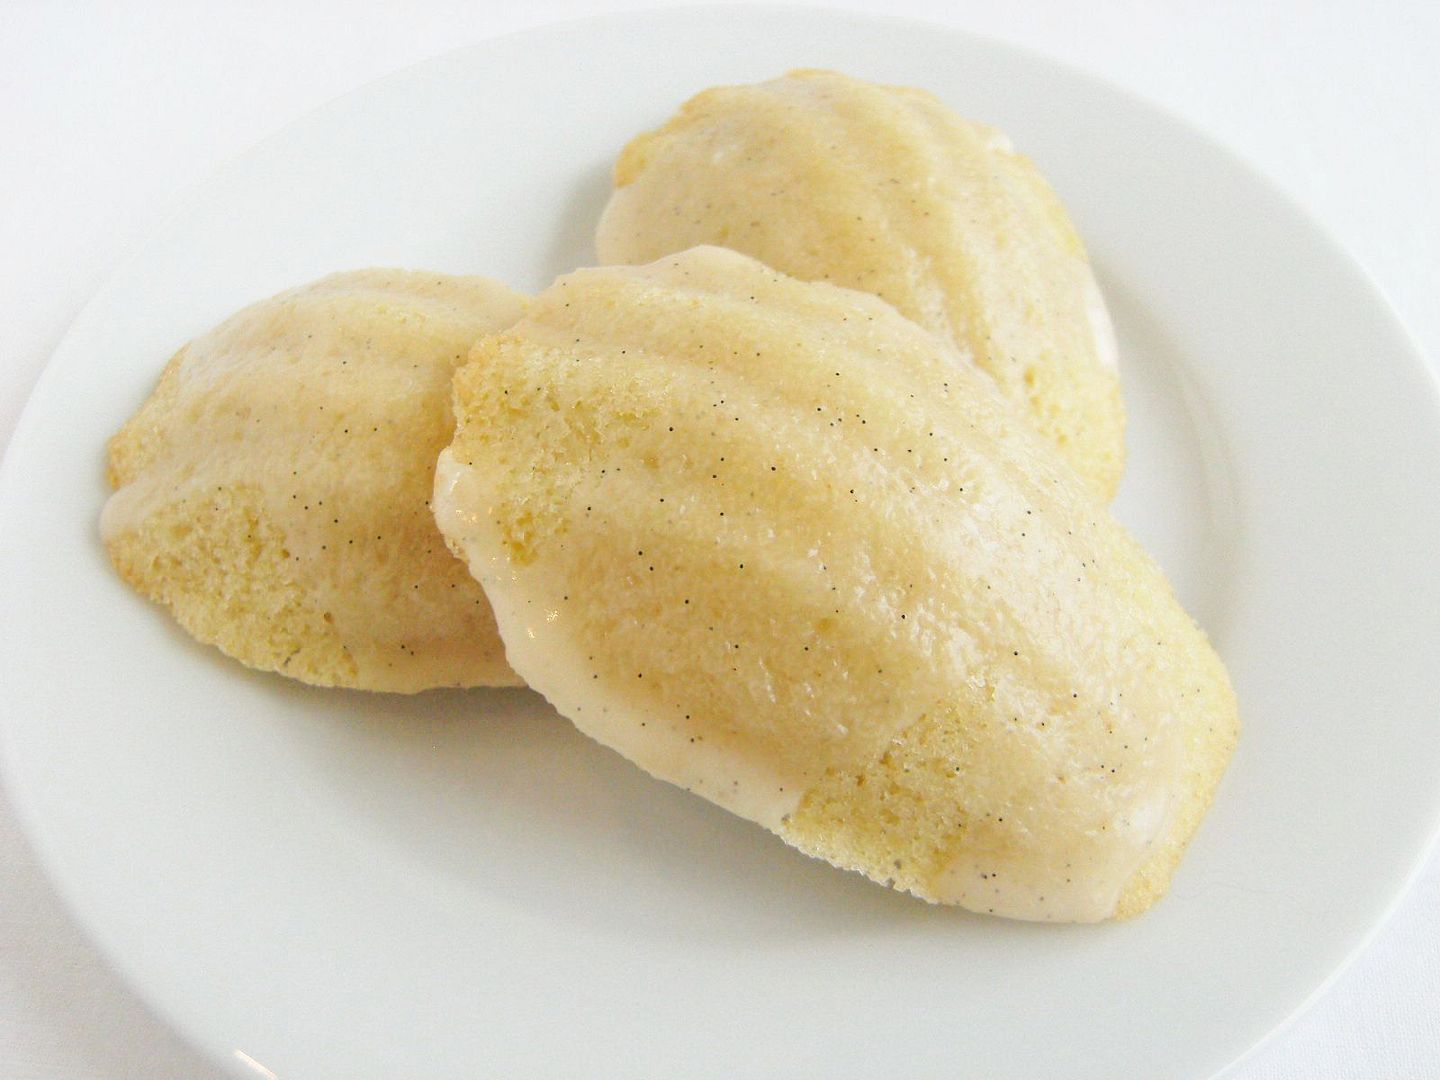
Flavor-of-the-Month . . . Amaretto Madeleines

Welcome to Flavor-of-the-Month, boozy edition!
My favorite drink in the whole wide world is an Amaretto Sour. Even though I'm too lazy to make them very often, I try to keep a bottle of Amaretto in the house at all times, just in case. So, when contemplating Boozy Edition, it was calling to me.
Take a look at this Amaretto I found. Read the label...
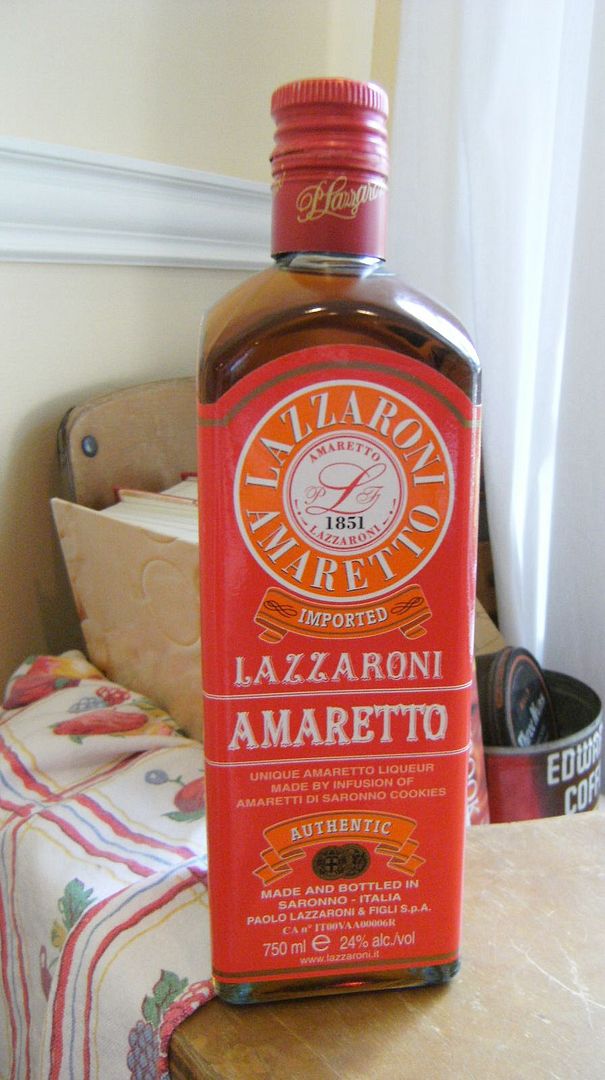
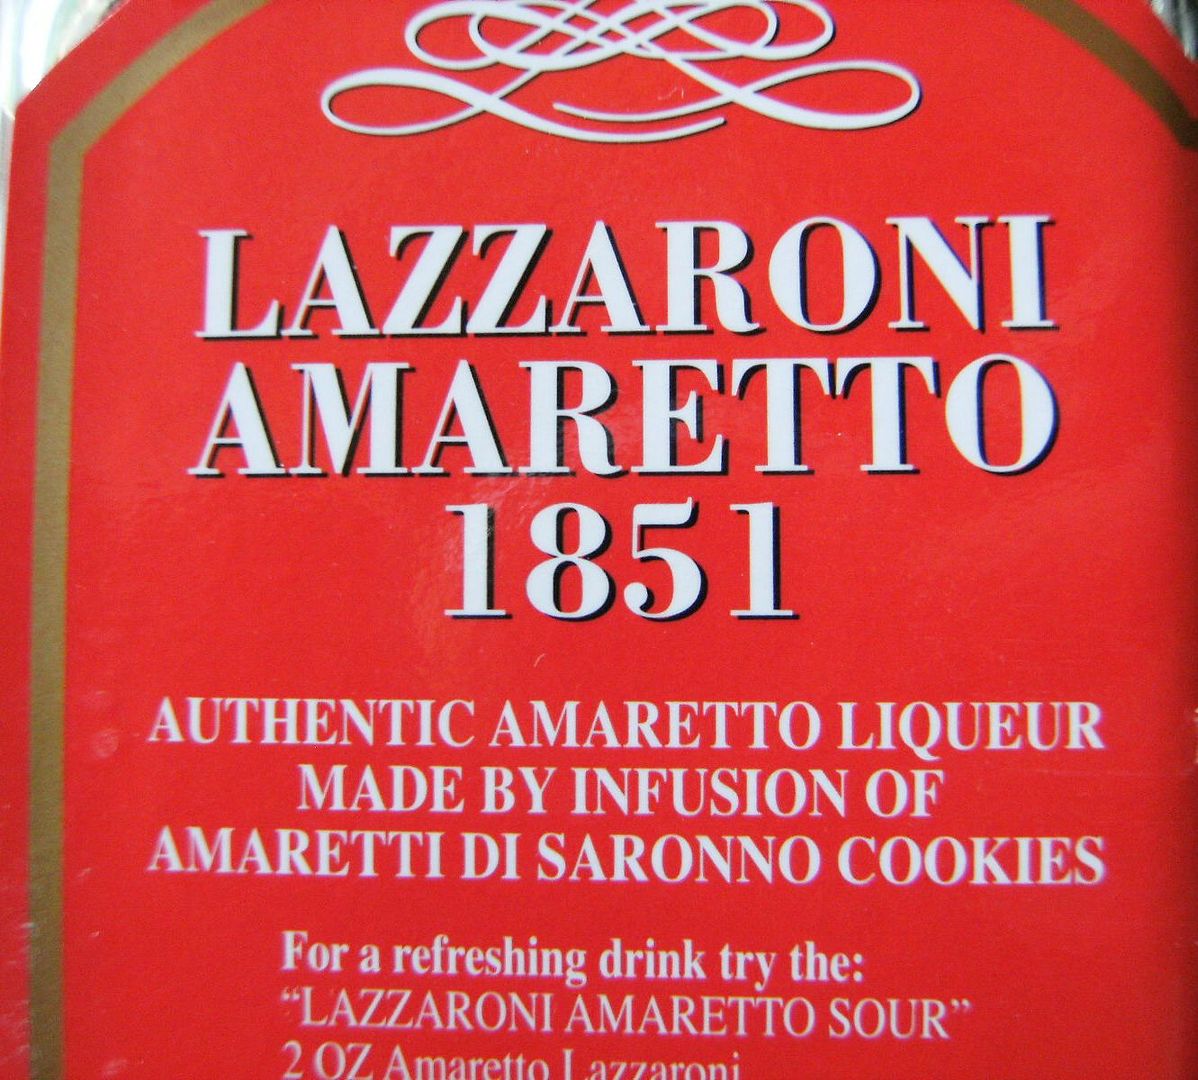
"Made by infusion of...cookies!!!" Now, this is my kind of liqueur!
Madeleines are, to me, like a combination of cookie and cake...how can that be wrong? And did anyone else read the Madeleine books growing up? I loved those books and making these made me think of...
"In an old house in Paris that was covered with vines,
lived twelve little girls in two straight lines..."
lived twelve little girls in two straight lines..."
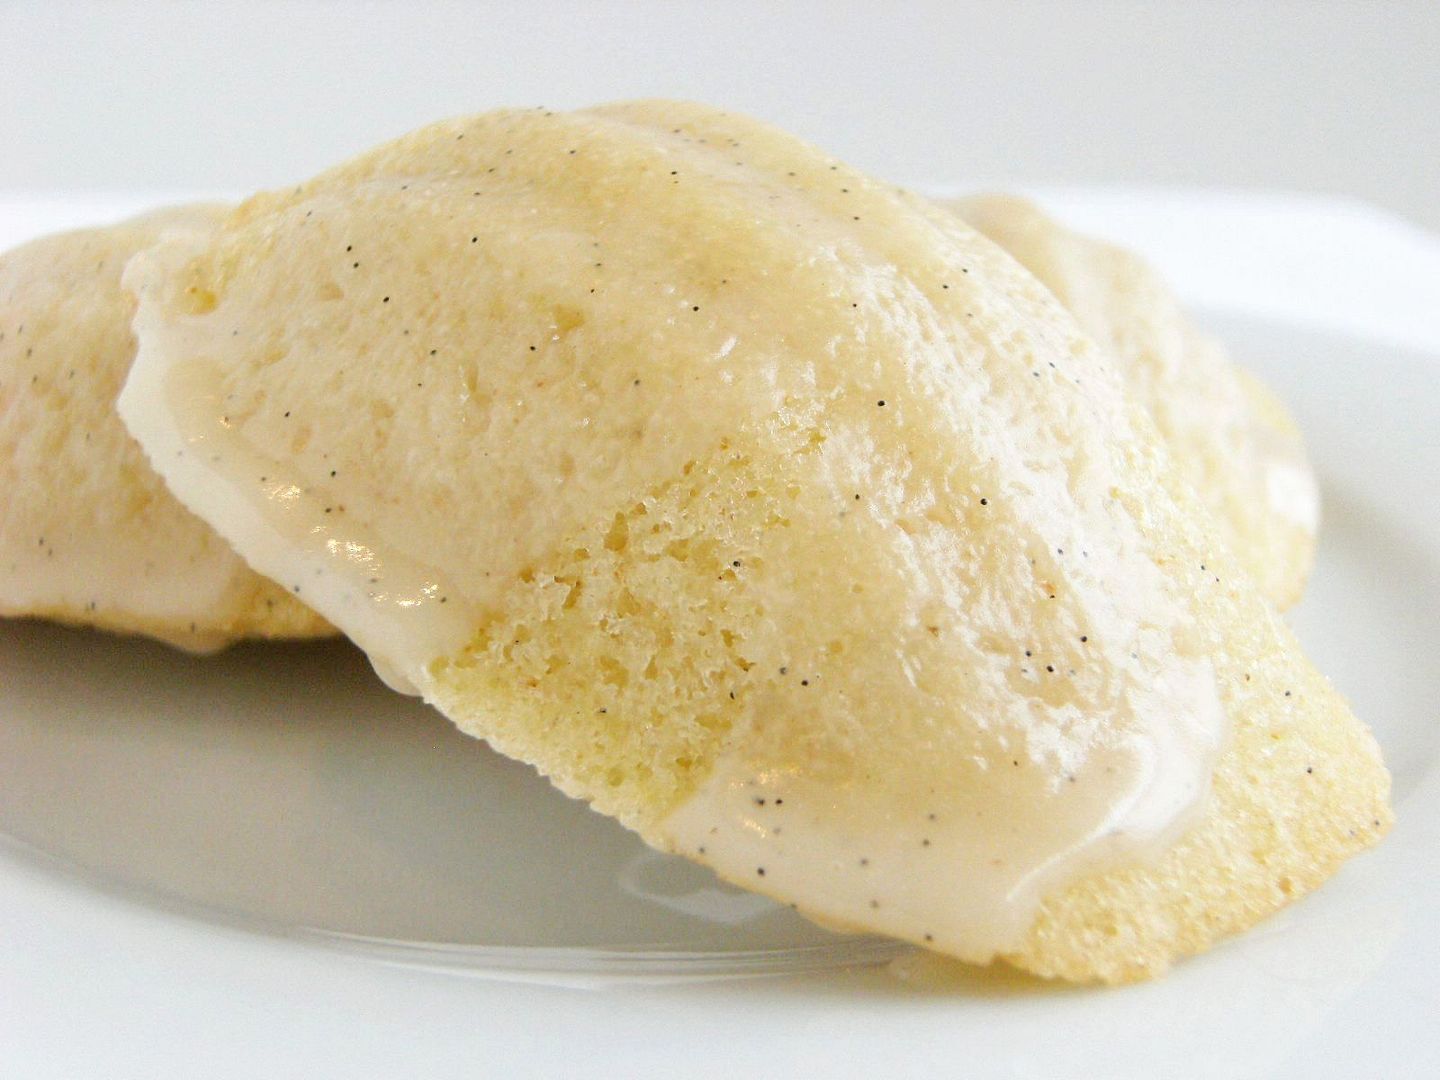
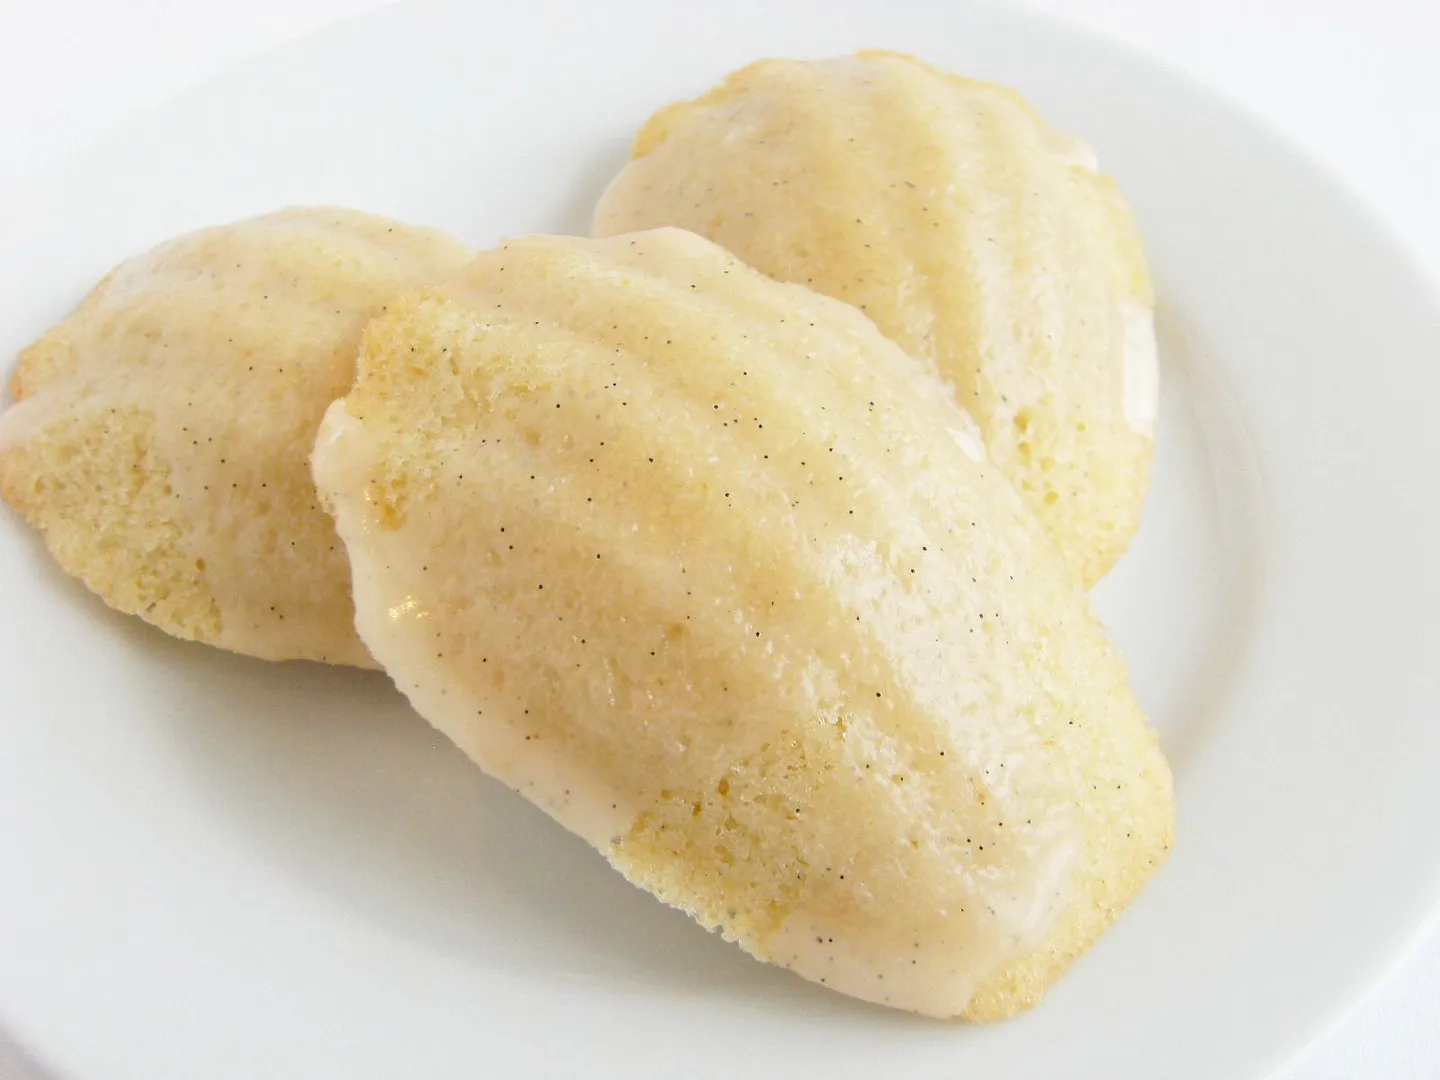
Amaretto Madeleines with Amaretto-Vanilla Bean Glaze
(makes 22 madeleines)
10 TBSP unsalted butter, plus more for the pan
2/3 c sugar
1/2 salt
3 eggs, room temp.
2 tsp Amaretto
1 tsp vanilla bean paste (or vanilla extract)
1 c flour, sifted
Over medium heat, melt the butter in a saucepan. Simmer gently until the butter deepens slightly and there are small flecks of brown in the butter, about 5 minutes.
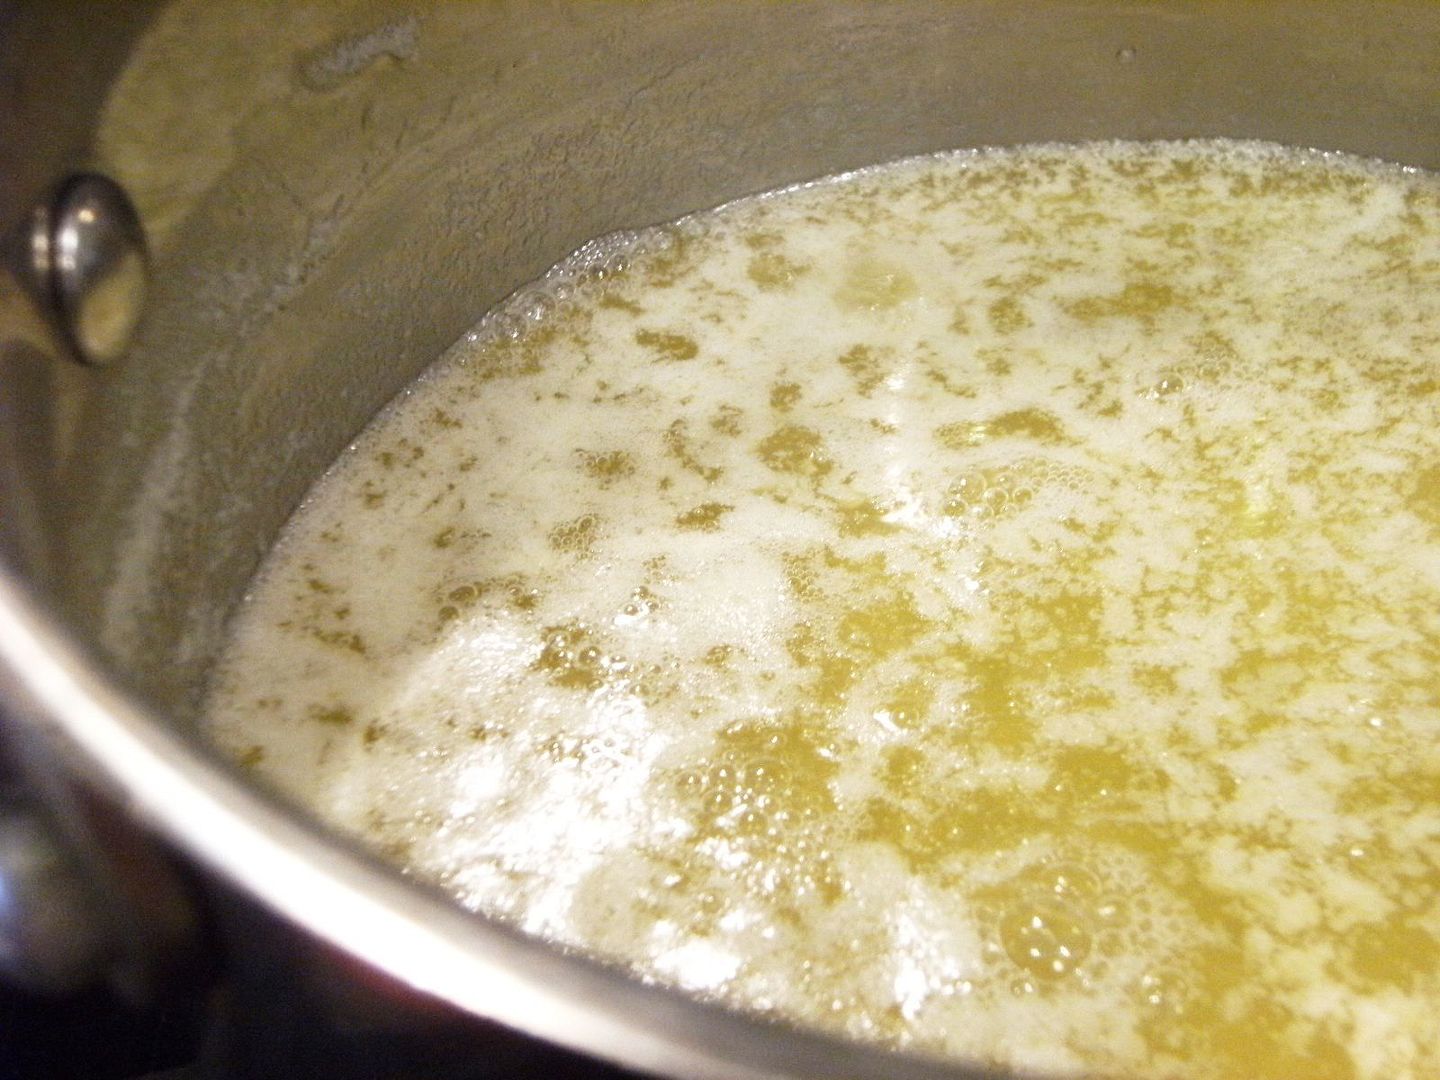
{Browning butter always makes me nervous!}
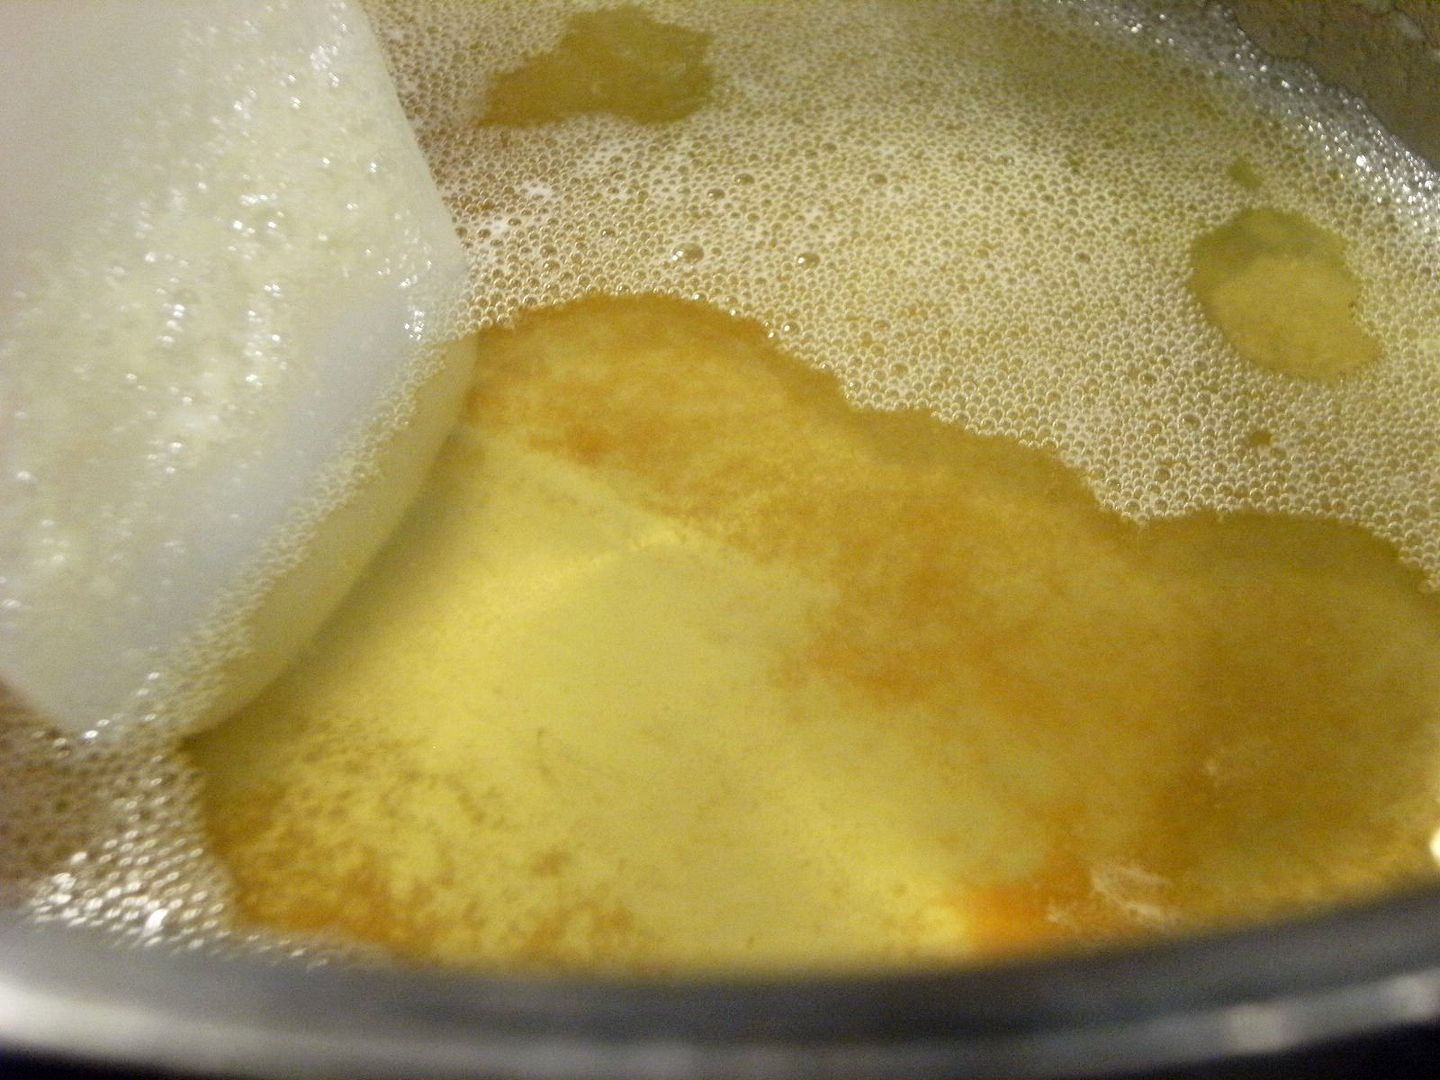
Set aside to cool to room temperature.
Beat the sugar, salt and eggs several minutes until they are light yellow and thickened. Stir in the Amaretto and vanilla bean paste.
Gently fold in the flour and butter in 3 additions each, alternating between the two. Refrigerate the batter for 45 minutes.
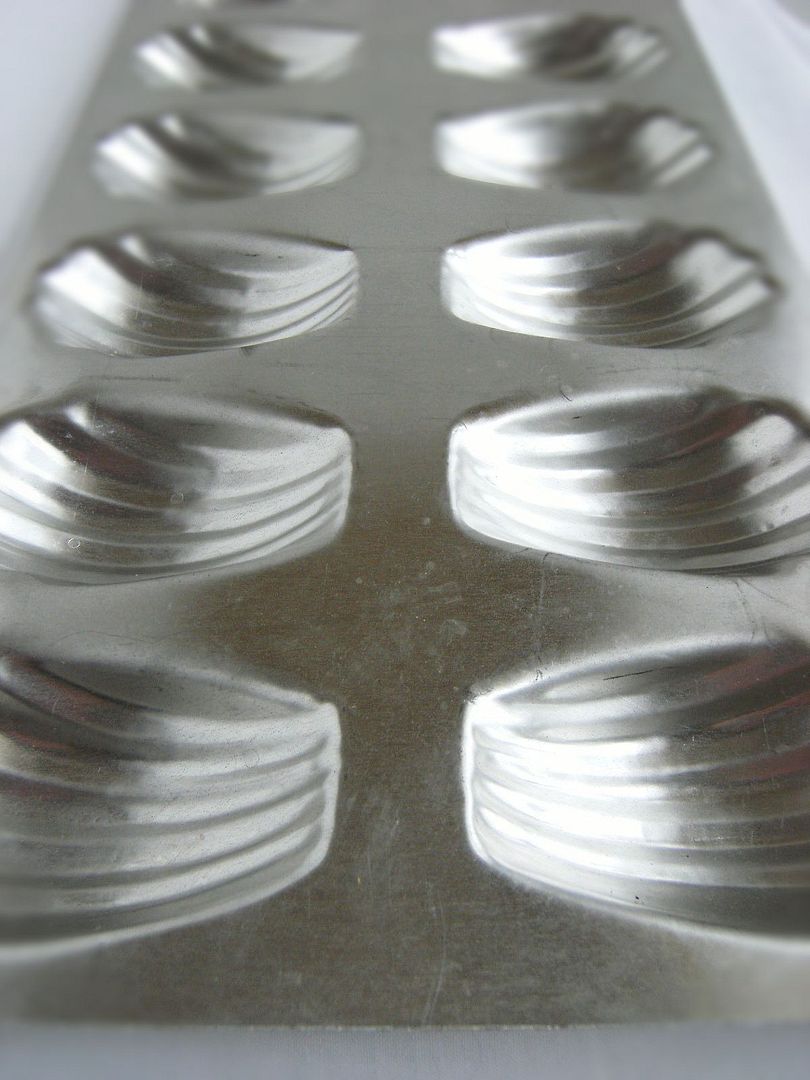
Preheat the oven to 375. Brush the madeleine pan with melted butter.
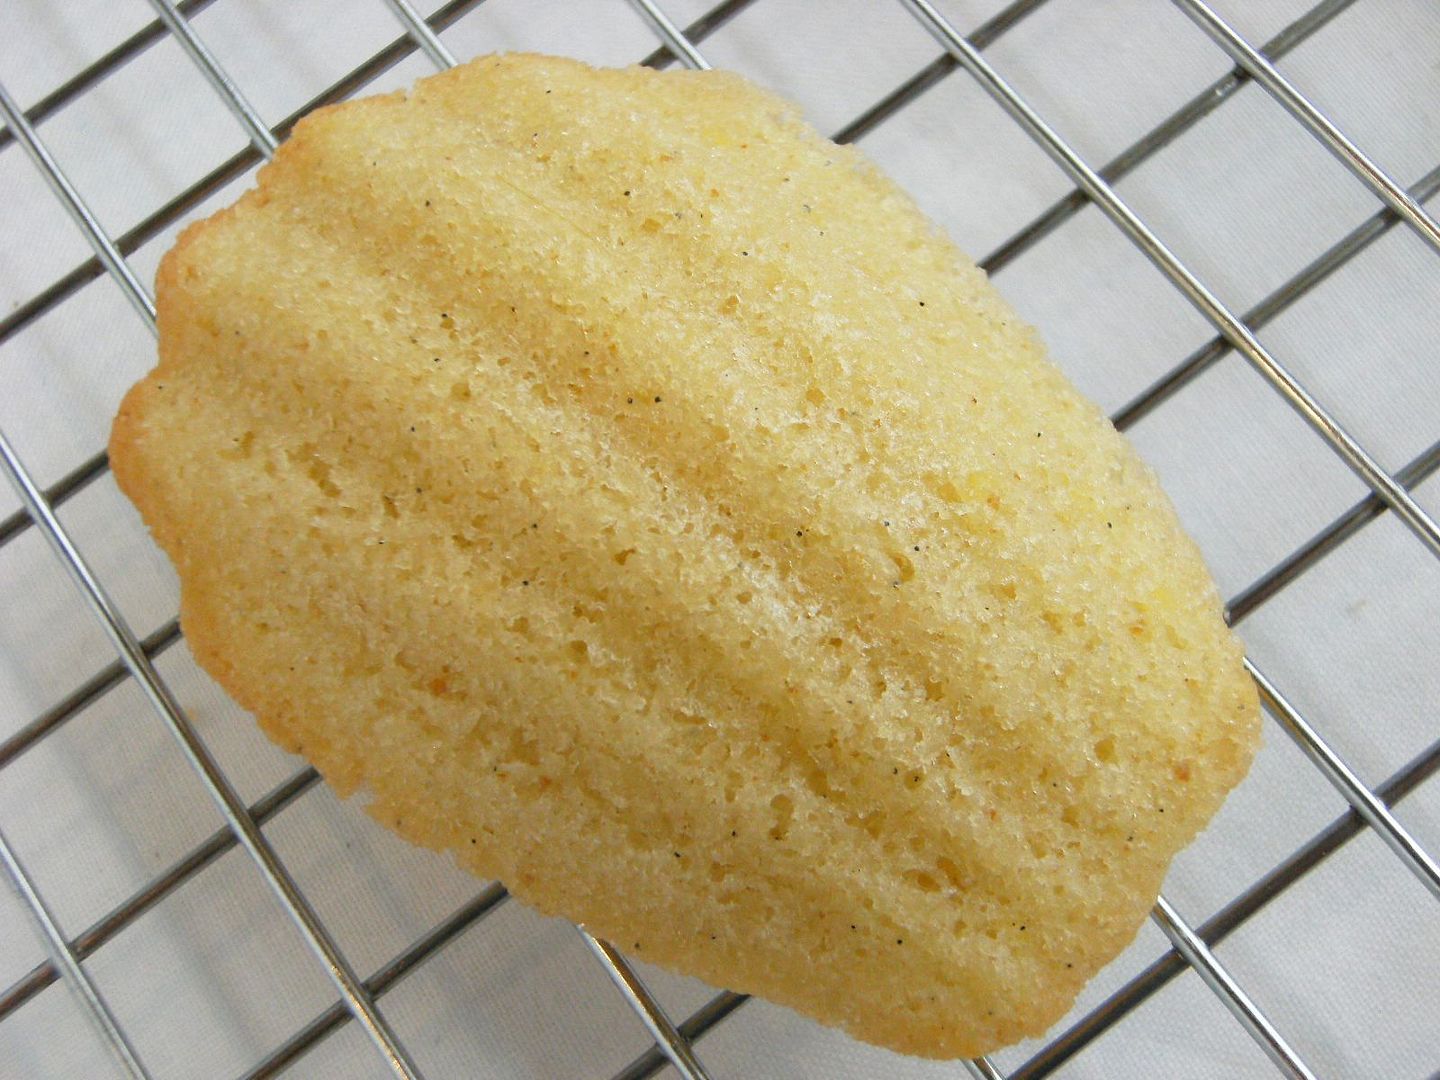
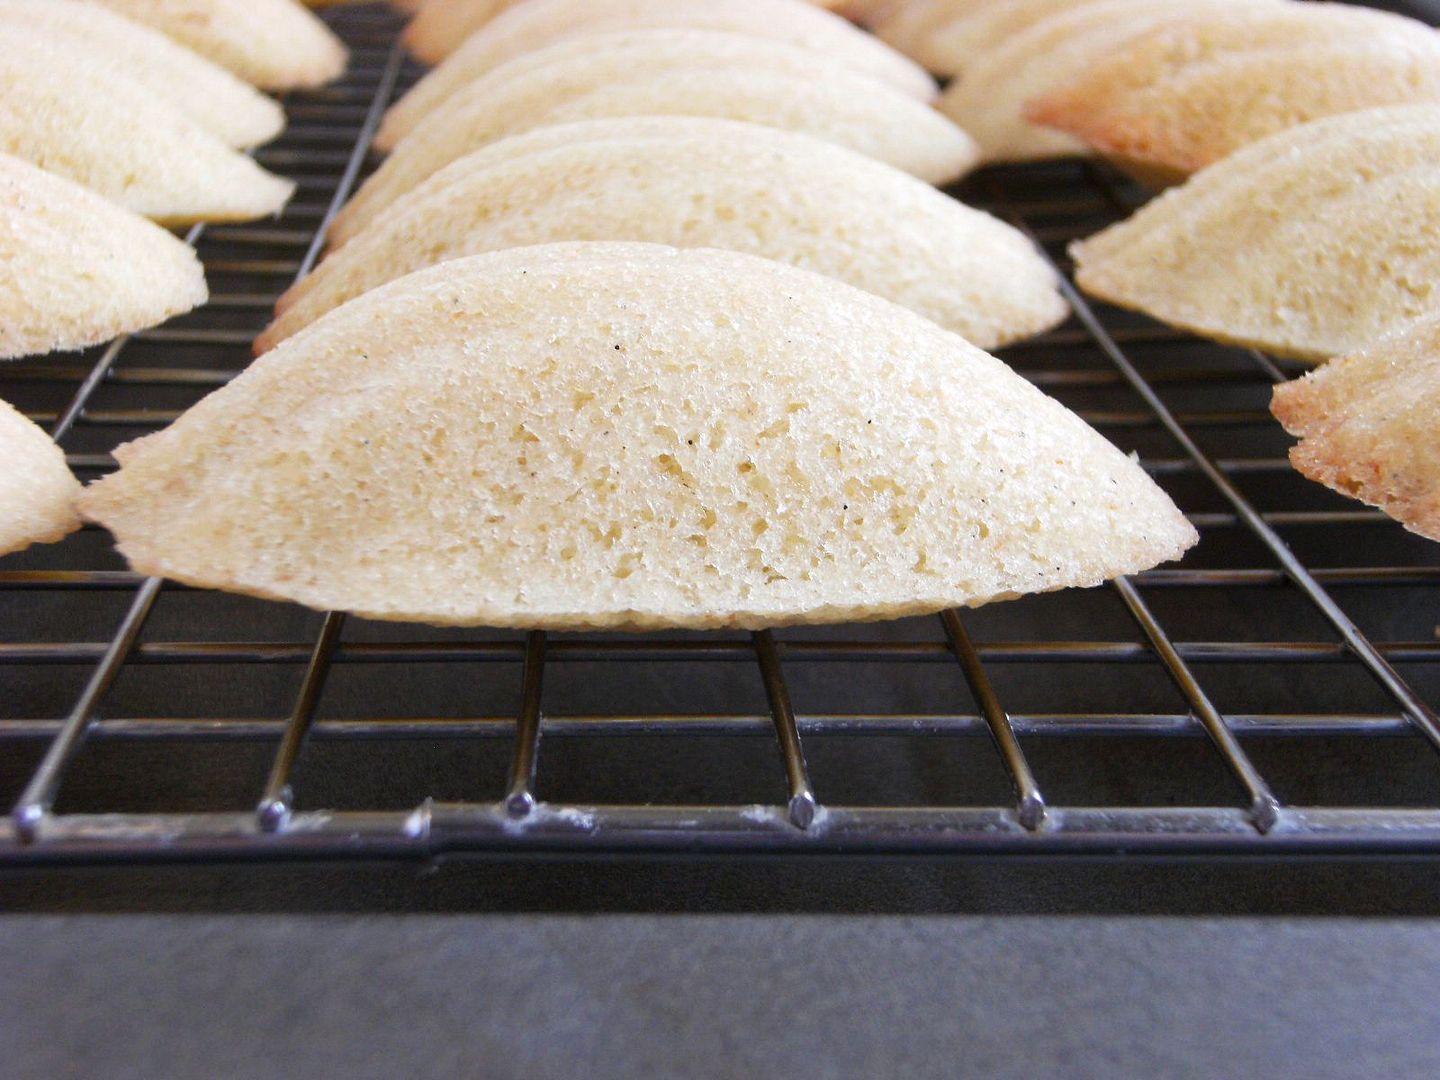
Fill the pans with 1 heaping tablespoon of dough per cookie. Bake 12 minutes until the edges are light brown.
Let cool in the pan 5 minutes. Carefully remove from pan and let cool completely on a cooling rack.
If making these in 2 batches, let the pan cool completely. Wipe out the cookie molds and re-coat with melted butter.
Amaretto-Vanilla Bean Glaze
1 & 1/4 c. powdered sugar, sifted
3 TBSP whole milk (or whatever you have on hand, lower fat will make a thinner glaze)
2 TBSP Amaretto
1 tsp vanilla bean paste (or vanilla extract)
Whisk to combine all of the ingredients.
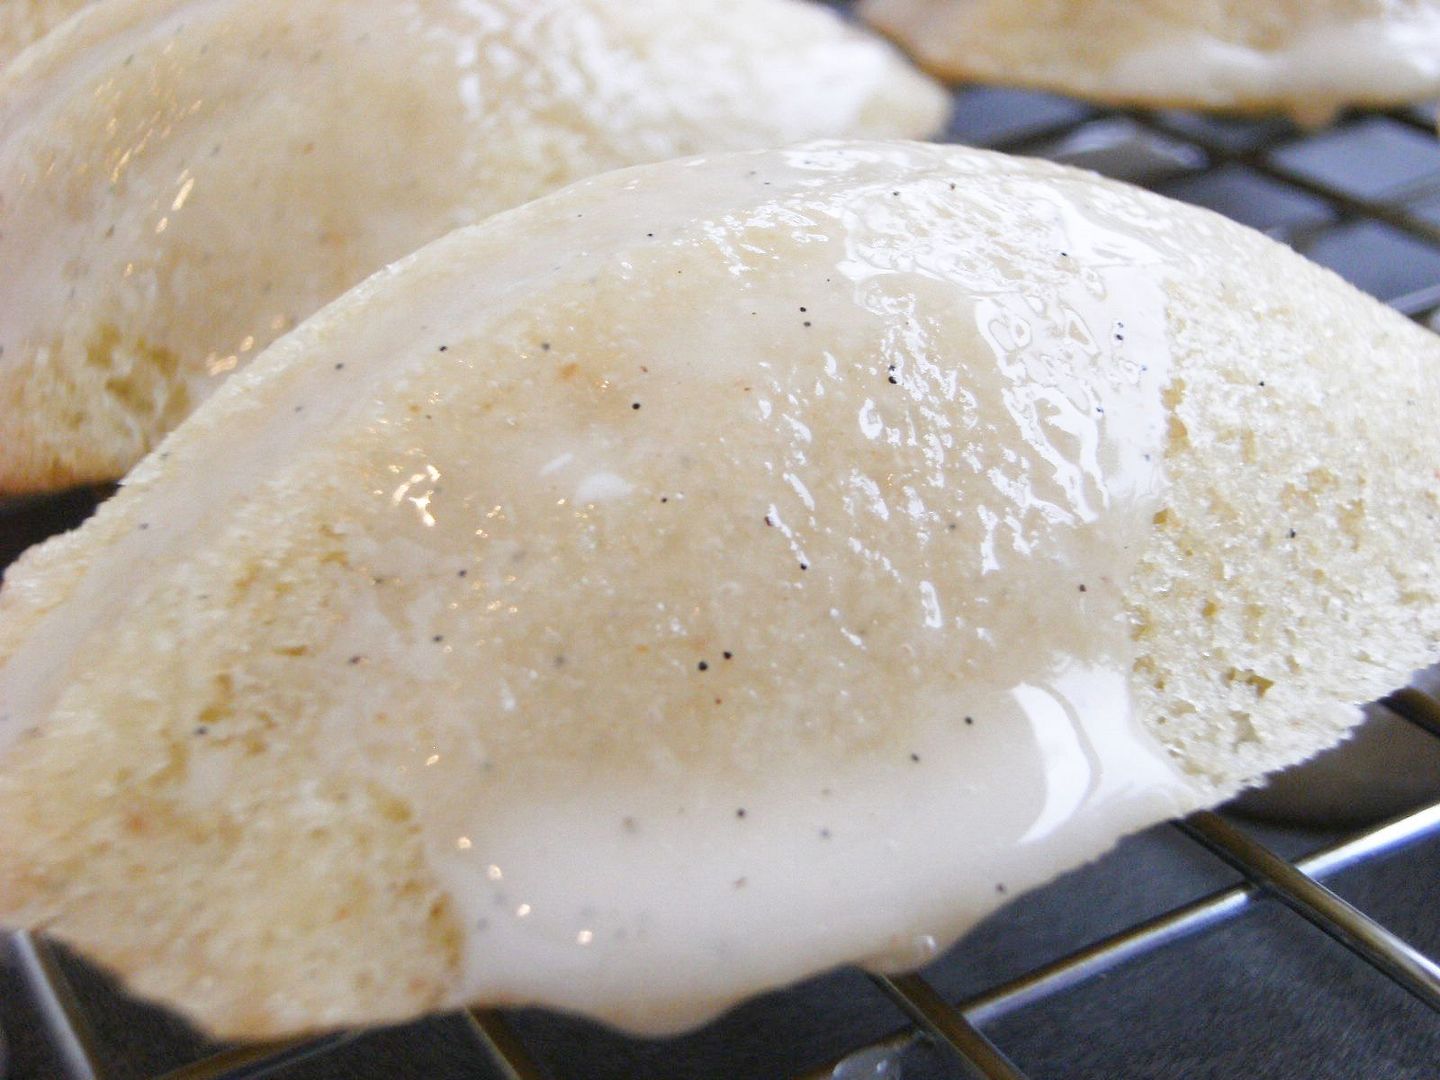
Place the madeleines on a cooling rack placed on a cookie sheet. (This will catch the glaze and make for easier clean-up.)

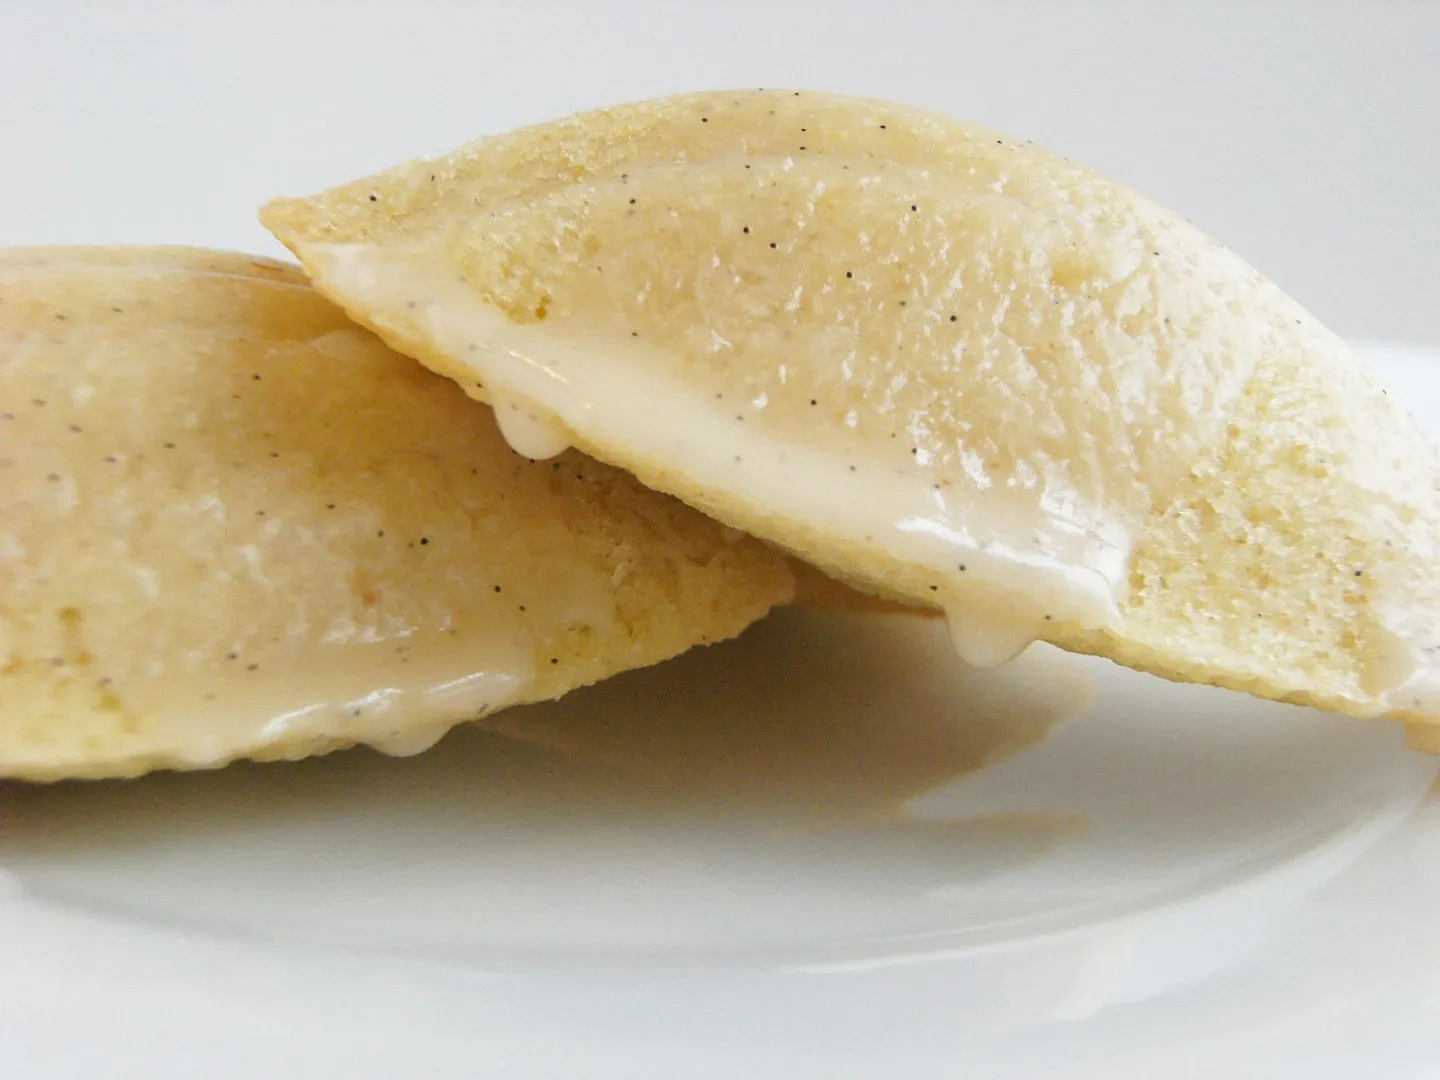
Spoon glaze over the cooled cookies.
Flavor-of-the-Month February will be CHOCOLATE!!! Oh, I can't wait!!!
♥Reminder: when linking up, please link to your blog post only...not your blog's main page. These links will be removed. If you're not sure how to do that, click here.♥
Want to check out our past FOTM's? Click here! It's a great way to find new blogs to love!
Link away! (Linky will close the evening of February 3rd to discourage spammers.)
Itchy & Scratchy
January 30, 2010
Saturday was filled with a lot of running around and trying to get things done. The brief periods of time that I spent at home, were used to get ready for the next outing. During my evening stop in, I noticed that one of my cats was “cotton balling” that is to say, itching intensely and causing his fur to come out in clumps. No need to be alarmed, it is just all of the fur that he would normally shed balling up and falling out at once – he is not going bald. But watching him scratch informed today’s question. Today’s question is: what causes an itch?
A: Itch, also known as pruitus, is an irritation or tingling sensation of the skin. Doctors and scientists have no definitive conclusion on what an itch is; however they have divided them into two categories: sensory itch and allergic itch. Sensory itch can be defined by a lack of skin rash and may be brought on by a variety of physical or chemical irritants.
Generally, itching is more severe when the skin is warm and there is an absence of distraction – this is why people tend to notice itching more at night. It is likely that itch is transmitted by lightly insulated or uninsulated pain receptors in the superficial skin.
Scratching relieves itch by sending an overwhelming signal to the pain neurons, which masks the itch sensation.
Sources:
Answers.com: Itching
MadSci Network: Medicine
Peggy Loves Vintage contest!

Have you been wanting to try some images from Peggy Loves Vintage?? Well, nows your chance to win some free images! Just visit Peggy's blog and get the free image of this beautiful vintage heart (make sure you click on the heart first before you save it so you get it at full size). Then make a project with it and post a link on Peggy's blog (or email her a pic) before February 12th, and you could win 2 sets of cutouts from Peggy's store!! Fun stuff!!!! So hurry on over there and get your free image, and I can't wait to see what you come up with!

I printed the image out twice, once on kraft paper for the dark background, and once on white Bazzill so I could have the brighter pink heart in the center. I cut out the brighter pink heart, stamped it, and then popped it up from the background image after using a little chalk ink around the edges. It's also for sale in my etsy shop. Link is on my side bar.
Thanks for stopping by to see me today, and hope to see you back again soon!! Hugs!!
recipe:
image - Peggy Loves Vintage
paper - DP - Fancy Pants Letters of Love; kraft paper, Bazzill cardstock
tools: heart Nestabilities, Bow Easy
Misc: pink rhinestones, silk ribbon, charm, machine stitching, stickles, dimensional tape
♥ pimping my BB Bold & E71 ♥
soooo, I have been using the rubber case for my BB Bold.
it's cute but I wanna try something else..
so I found this little accessories shop for Blackberry in PIM (Pondok Indah Mall), Indonesia.
not only rubber case, but also the hard battery case. :)
they weren't much choices of colors because there were soo many people in the shop buying accessories so I guess the choices got ran out.
luckily, they still have the PINK one although the material was too glossy (the Bold battery case supposedly a bit leathery) but hey, it's still pink~ lol.
& the other color that I picked was the light green & the material was made from leathery so it matched my Bold. xD
I was kind of thinking to get the orange one too with a little bit of style of animal print, but i thought i wouldn't need that much case anyway.
those battery case costs about Rp.100.000,-
i'm not sure if it's expensive or not.
but they have the full set of case that comes with the keypad, battery case, and everything else but it was too expensive. it costs about Rp.1.500.000,-!!
soo what do ya' think, which one looks cuter?

as for my Nokia E71 case, I bought them in Bangkok while I was on quick holiday.
i chose the glittery bling bling cases just because I thought it looks fun~~ ^o^
it costs me about 350Baht/case. that's around Rp.100.000,- too just like my BB case.
soo which one looks cooler on my E71?

hehee pimping out gadgets it's fun.
although original case are not bad at all but i just want to 'dress-up' my gadgets sometimes. hahahaaaa~
maybe gadgets wants to look fashionable too.
love.love ♥♥
Eff! Why Eye?
January 29, 2010
I wrote a poem on Tuesday for my writing class. It wasn't actually for the class, but rather a warm up exercise to get the creative juices flowing. The thing was, I was so proud of it, I posted it on a social networking site. The poem was about the feelings I was experiencing during my divorce. It was certainly raw - but I received some backlash from it. Some people that knew my ex felt it was a bit trashy for me to post it publicly. Since this is my little corner of the world, I'm going to re post it.
A Letter to My Ex
To my ex-husband,
I hate you.
You made me feel angry.
I have learned that anger is an emotion that is secondary, stemming from fear and hurt.
I was hurt.
You shocked me by telling me that you preferred your own company to mine.
This made my heart ache.
It made me feel worthless.
It made me think that I was unimportant and that the last eight years had been a sham.
You squashed my dreams of beating the odds.
I wanted to be a parent and a grandparent with you by my side. I wanted to retire to the English seaside with you and sip tea and eat cream cakes.
You stole my dream of growing old with the one person who knew me best.
You may not have been perfect, but you were perfect for me.
I was fearful.
How was I meant to go on?
I had spent almost a decade with you, spanning nearly my entire twenties and two countries.
I didn't know how to date, how to relate to others romantically.
You were my life.
I have gathered what is left of my life and tried to create an identity solo.
This has been harder than expected.
It took me a long time to untangle me from you - and the journey continues.
My hope had been that I could replace you, but my relations with men have been bumpy to say the least.
The physical interactions that I used to employ in my teens and early twenties have left me feeling dirty and empty.
As I learn about who I am, I am trying to be okay with being alone without feeling lonely.
You forced me into this.
I resent it.
I hated not having a choice.
I hate that I am stigmatized by being divorced before I am thirty.
I hate that your choice has impacted so many other people.
I hate everything about my situation.
But, it is just temporary.
This too shall pass.
And perhaps, just perhaps, my hate will turn to gratitude.
Sincerely,
Your ex-wife
In defense, I made sure that he had a copy, so it was not been done behind his back. This is my true, unbridled, raw emotion and it's a tough pill to swallow. But this has been a real writing accomplishment for me - to write something that is completely uncensored. If you read it, I don't say a bad word about him or call him names, I am expressing my experience. I was careful to use a lot of 'I statement', which we learn in counselling techniques, allows people to express their feelings without placing blame. Today's question is: what is the value of 'I statements'?
A: 'I statements' are the essence of assertive language - they are powerful messages of impact and personal perspective. 'I statements' are useful and preferred because the accountability stays with the speaker. In order to effectively use this form of communication it is best to stick to a five step system.
- Use 'I' instead of 'You'
- Refer to the behaviour and not the person.
- State how the behaviour affects you.
- State what you need to happen.
- State that there is a consequence to their action.
Okay, perhaps my poem wasn't all blame free, but at the end of the day, I wrote about the things that I wanted for us and how I've been hurt by the situation. At the end of all of this, I think it has taught me a valuable literary lesson: true, unbridled emotion causes the most controversy, and controversy adds interest. I wrote another poem about someone else who broke my heart recently - it was full of old time imagery and symbolism - not one person has commented on it.
Sources:
REVIEW: Freshlook Colorblends Contacts ♥


Hi hiii~
Recently, I purchased a brand new contacts lens. :)
I never use them before & it's quite an experience. lol.
I went to the mall with my BF the other day & saw a promotion in a new optical store.
They were having a promotion for a contacts lens which if I buy 2 box, I will get another box for free.
I thought, why not? I'm having troubles with eyesight too.
So Hney & I got our eyes tested & it turned out that I have a 0.75 minus while Hney's have a 1. something minus.
Which explains why we see blurred for the far sight. xD
There were a lot of choices of contacts brand, but we chose Freshlook Colorblends because it was the most natural color contacts.
I picked the Gray color, caz I thought I should try the less-obvious color before deciding to go all extreme with the contacts.
The other 2 were for my BF because he has worser eyesight compare to me.
He picked the Brilliant Blue & the Sterling Gray which are the combination of gray & aqua-ish color.
So we did purchased them & it costs us RM120 for 2 box.
So that means RM60/box for the power contacts or the contacts with prescriptions. (RM60 is around Rp.180.000,-) & I got another box for free^^
I think the non-power contacts would be around RM50 (Rp.150.000,-).
When we got home, we tried the contacts.
I was having a hard time putting them on & I search some YouTube videos that explains the technique.
After quite sometime, I finally got it. lol.
I hurts at first, my eyes were red, I cried naturally not because of the pain though.
My eyes need to take sometime to get used to it but so far I like them very much.
I like the color, the material, and everything else.
My eyesight is so much better too. I can see farsight now without even trying :)
The gray color also compliments my eyes.
These are some of the pictures~~


soo that's my review of the contacts. ask mee if you have questions^^
I will post the techniques that I use & some more review on the future posts. :)
byee..
love.love ♥♥
Wags 'n Whiskers - brown, blue, and white!
 We made it to Friday! YAY! :) And that means it's time for a new Wags 'n Whiskers challenge. This weeks challenge is from the fabulous Inge, and it's to use the colors brown, blue, and white on your project. I love this color combo, and chose to use the stamp Bear Hug. I used several different shades of brown, including that beautiful taupe silk ribbon. It comes across a little pinkish in the photo. She's colored with Copic markers, and I honestly have to say that I love this stamp so much!! This card is for someone that is really having a tough time right now, and I'm truly hoping it will make her feel a little better.
The flowers were cut with my Cricut and Gypsy from the Paisley cart with some chalk ink around the edges. I just cut circles out for the centers and topped them off with a bow made from twine from PTI. That fabulous teddy bear charm hanging from the bow is from Lacey over at Stamp and Create! Isn't it adorable??!! The hearts were cut with Nestabilities and then popped up for a little dimension. DP is Webster's pages and cardstock is Bazzill. Please do yourself a huge favor and visit Wags 'n Whiskers. The Divas have really created some amazing eye candy for you this week (they do every week!). These ladies are seriously talented!!! And then we'd love it if you'd play along with us! If you use your Wags 'n Whiskers stamp, you'll be entered for a chance to win a WnW stamp of your choice! Thanks so much for visiting me today, and hope to see you back again soon!! Big hugs!!
The Game of Love
I just love hearing about couples getting engaged...don't you? Just the thought of a new marriage, a new family...and well, the wedding cake, makes me turn to mush.
My cousin Meg got engaged last month...yay! Now, I have 9 younger cousins...just on one side of the family. Hearing about their engagements is always exciting, but this one was especially thrilling because I've actually gotten a chance to get to know her *now* fiance....and he is such GREAT GUY!
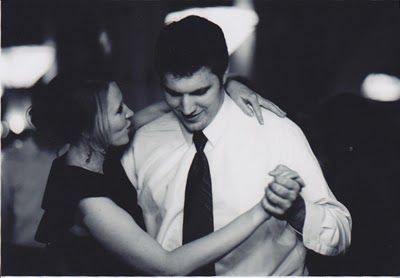
{ok, first...how adorable are they?!?}
♥Meg is about 12 years younger than I am. She used to write to me in college...telling me about how she would get up before school to do "Mousercise" (Mickey Mouse jazzercise) and writing out songs she had composed....at age 7! (As I remember, there were a lot of "Ooo, baby's" in the lyrics!) I think she is the most stylish person I know!
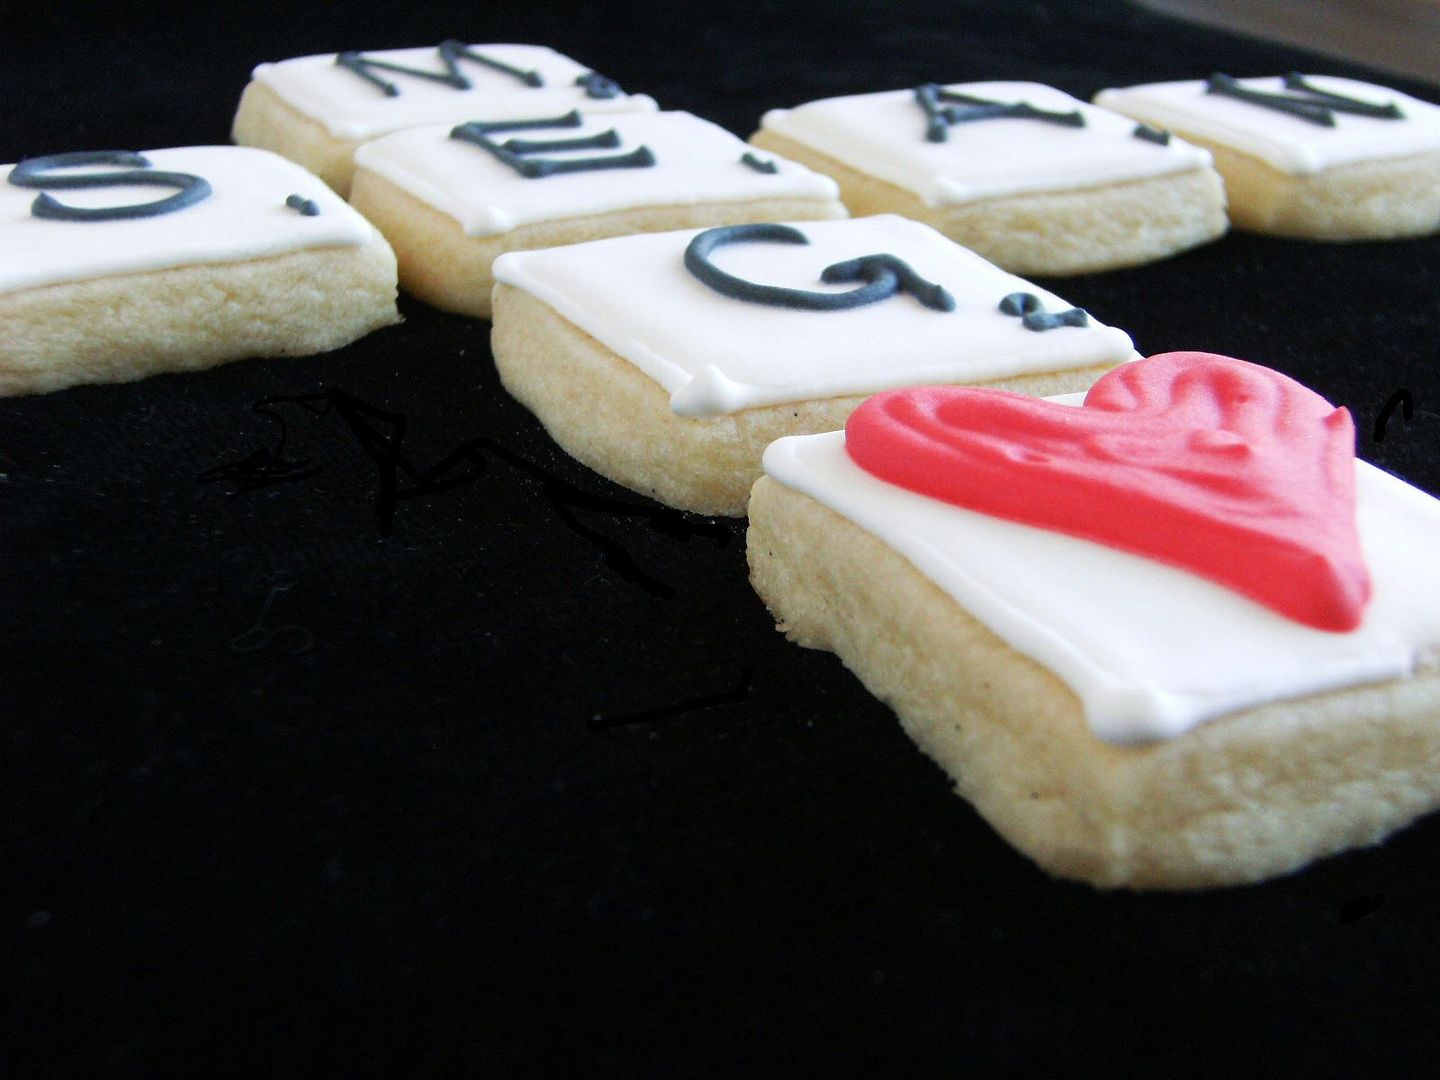
♥Sean was the first person my son ever met who owned an iPhone. And he let him PLAY WITH IT...that promoted him to "cool" right there. He plays guitar and sings and...Sean is also a SCRABBLE Champion. And that's where the cookies come in.
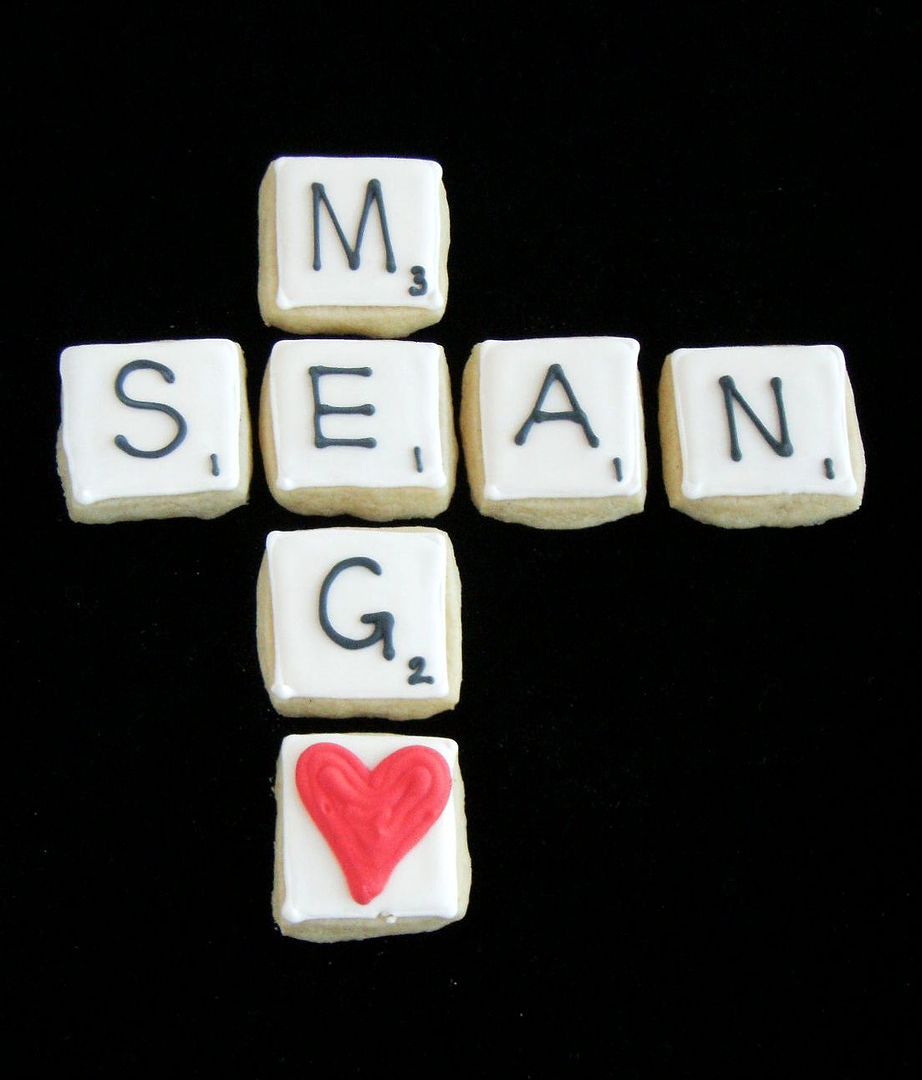

{Seriously, now...don't you think the "blank" tile in Scrabble should be a heart ♥? I can picture it now....Scrabble, the Valentine Edition...a pink and red board with little heart tiles. *I* would buy one!}
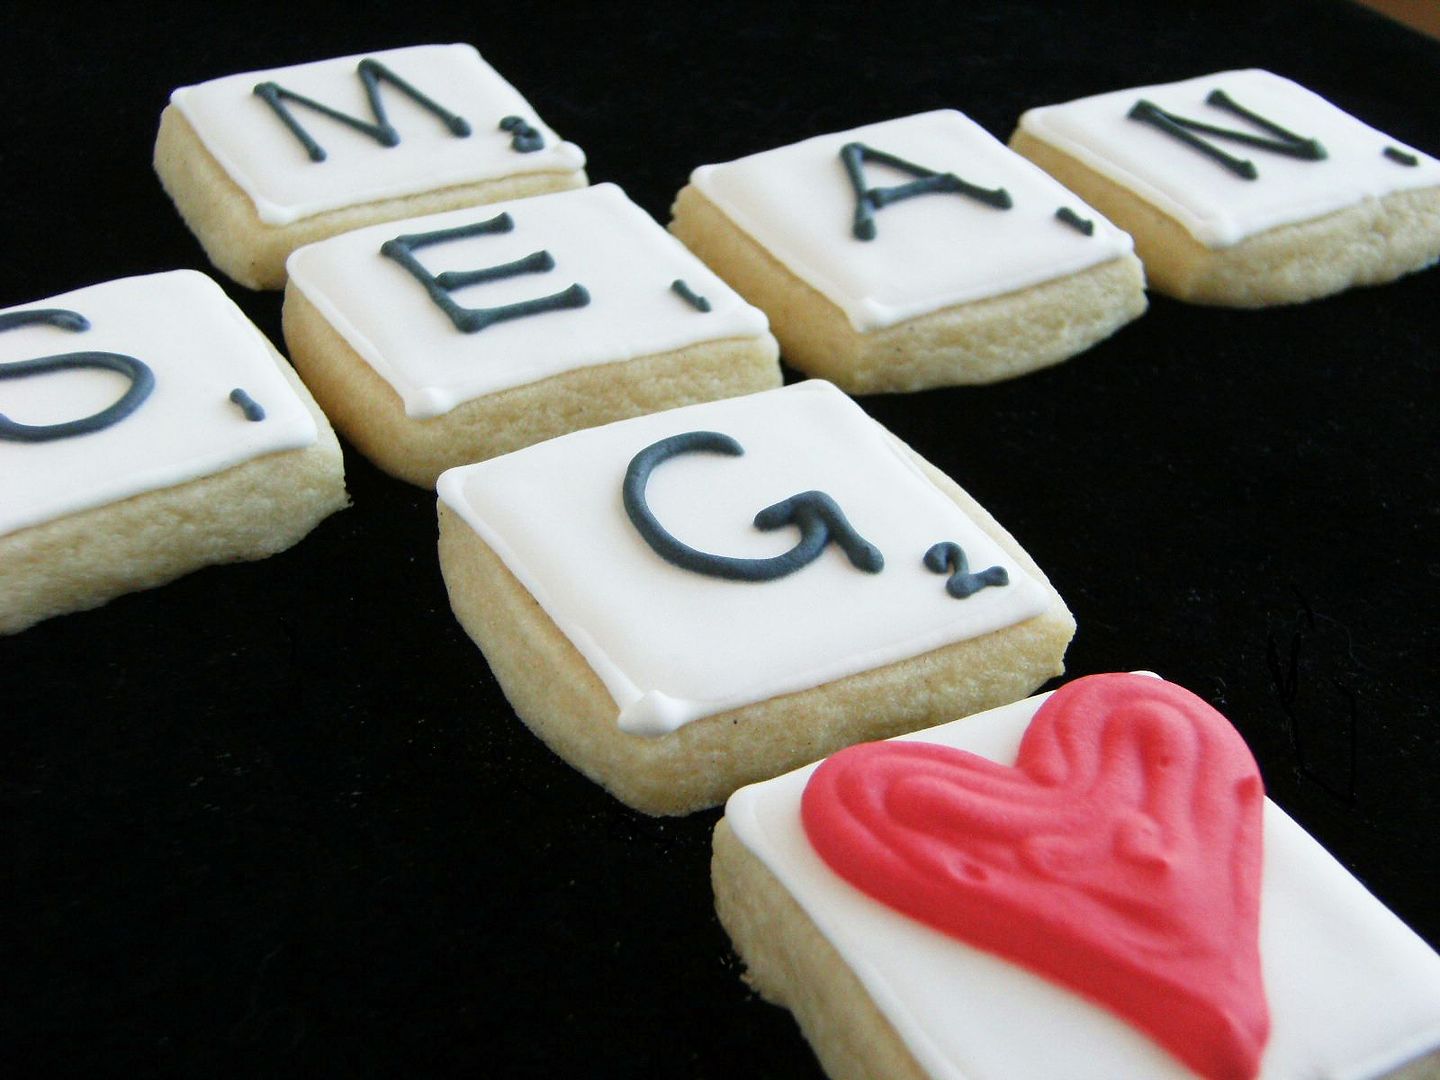
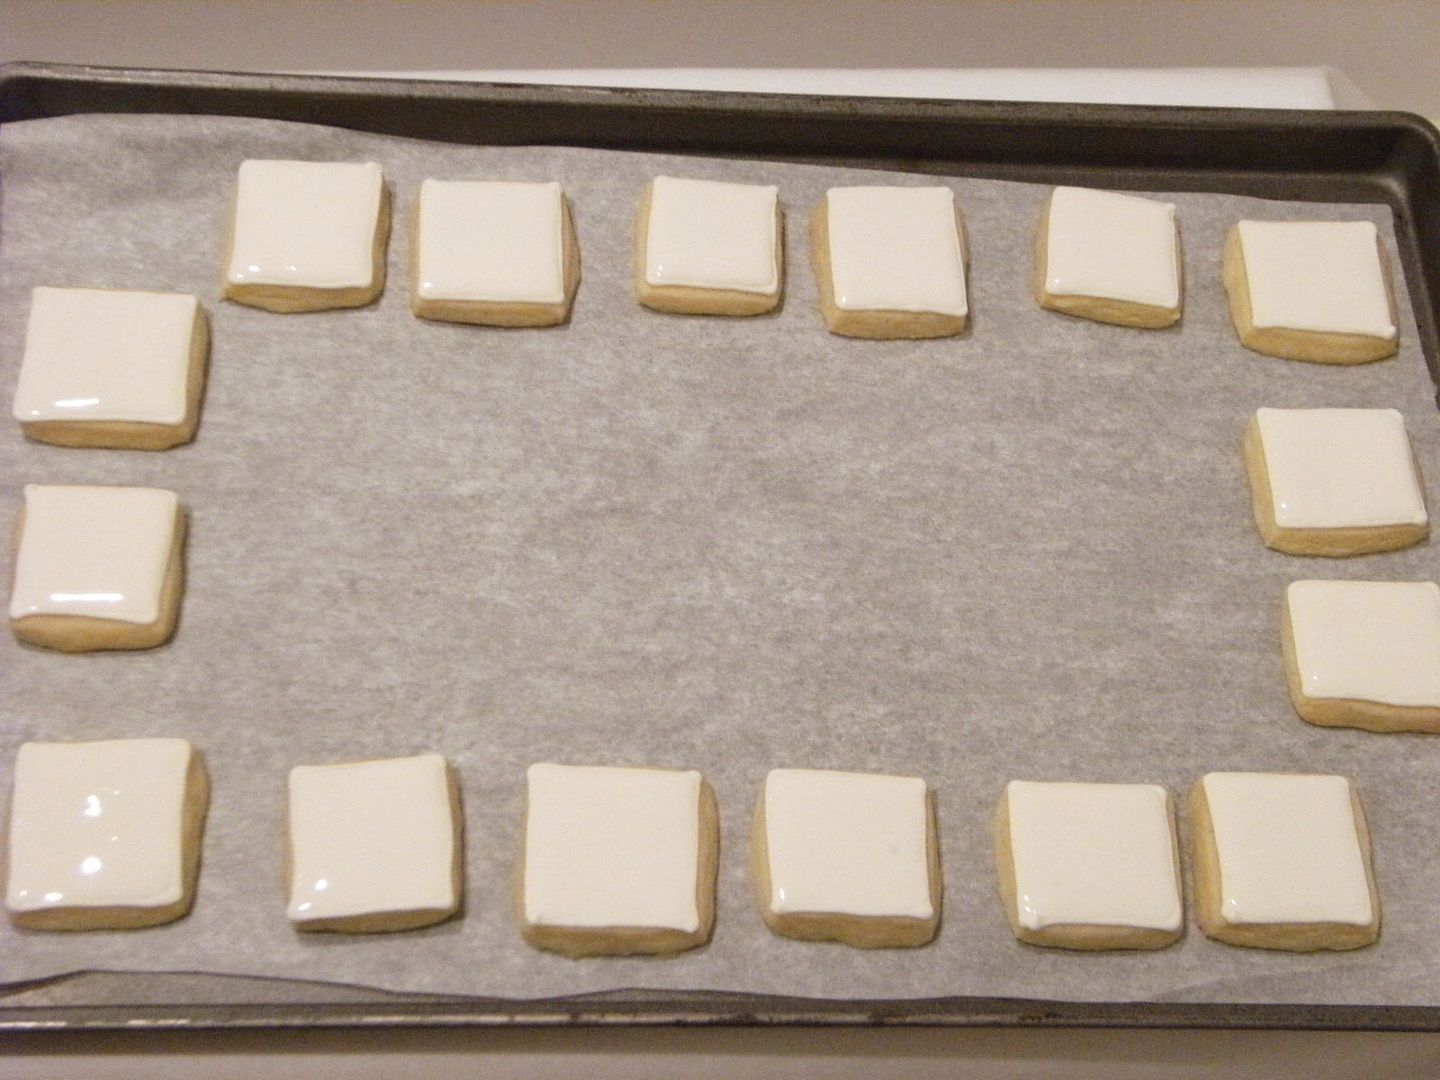
The cookies:
My original thought (a year and a half ago when I met Sean and had a feeling this day was coming) was to make a cookie Scrabble board. Unfortunately, I just couldn't get it to look quite right, so I made Scrabble cookie tiles.
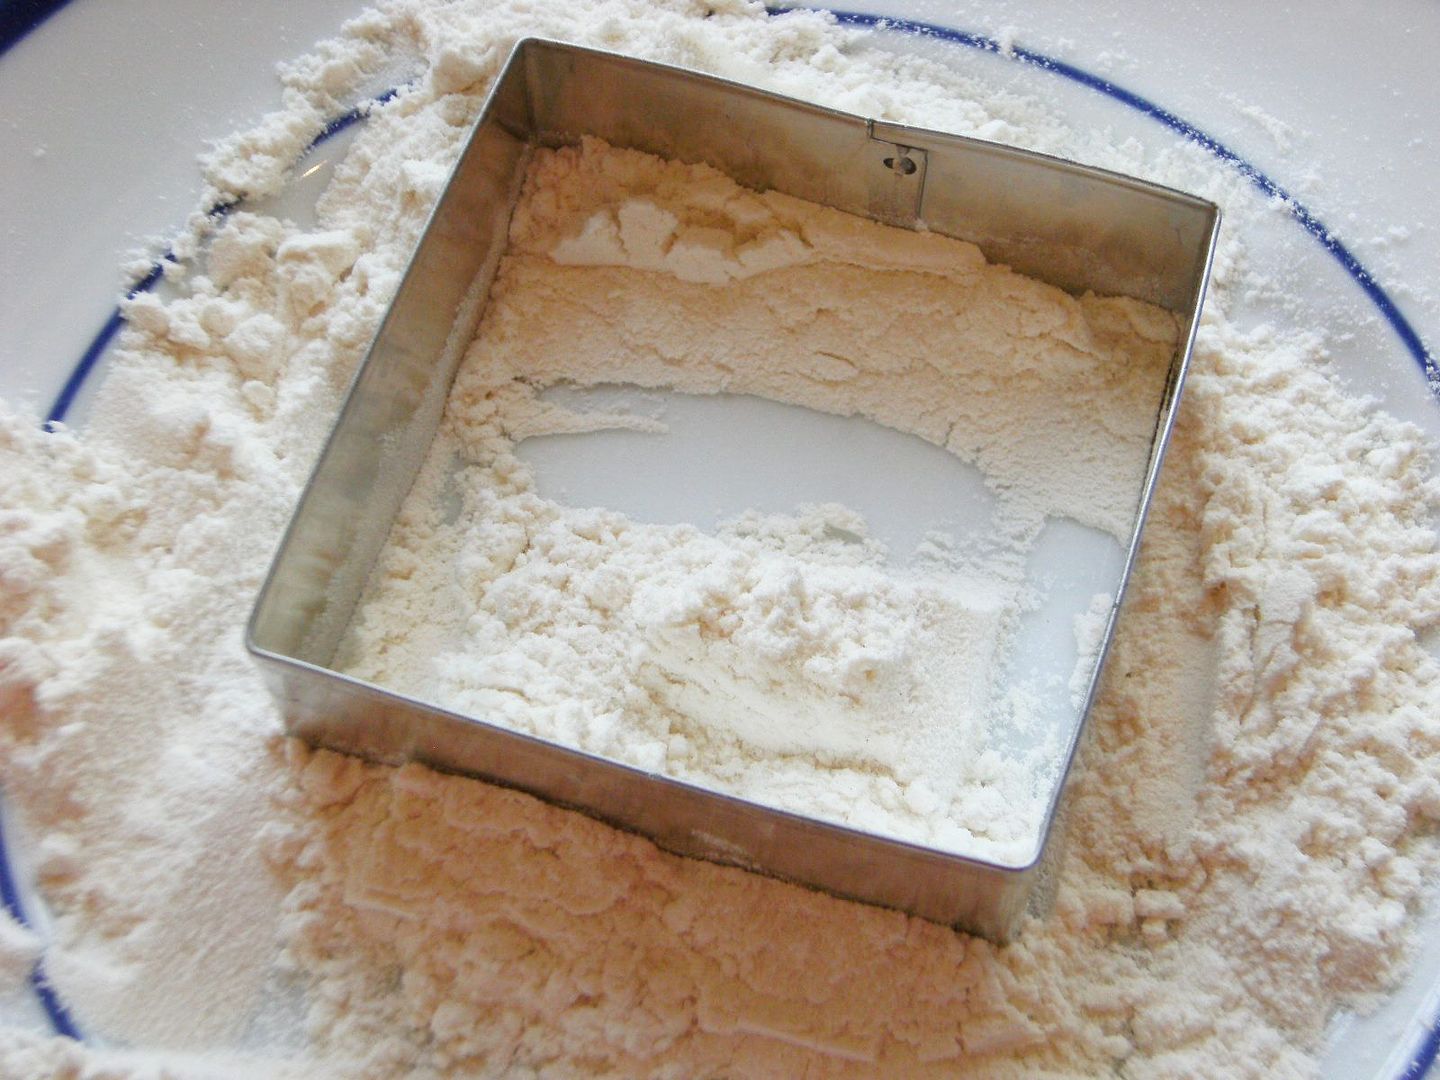
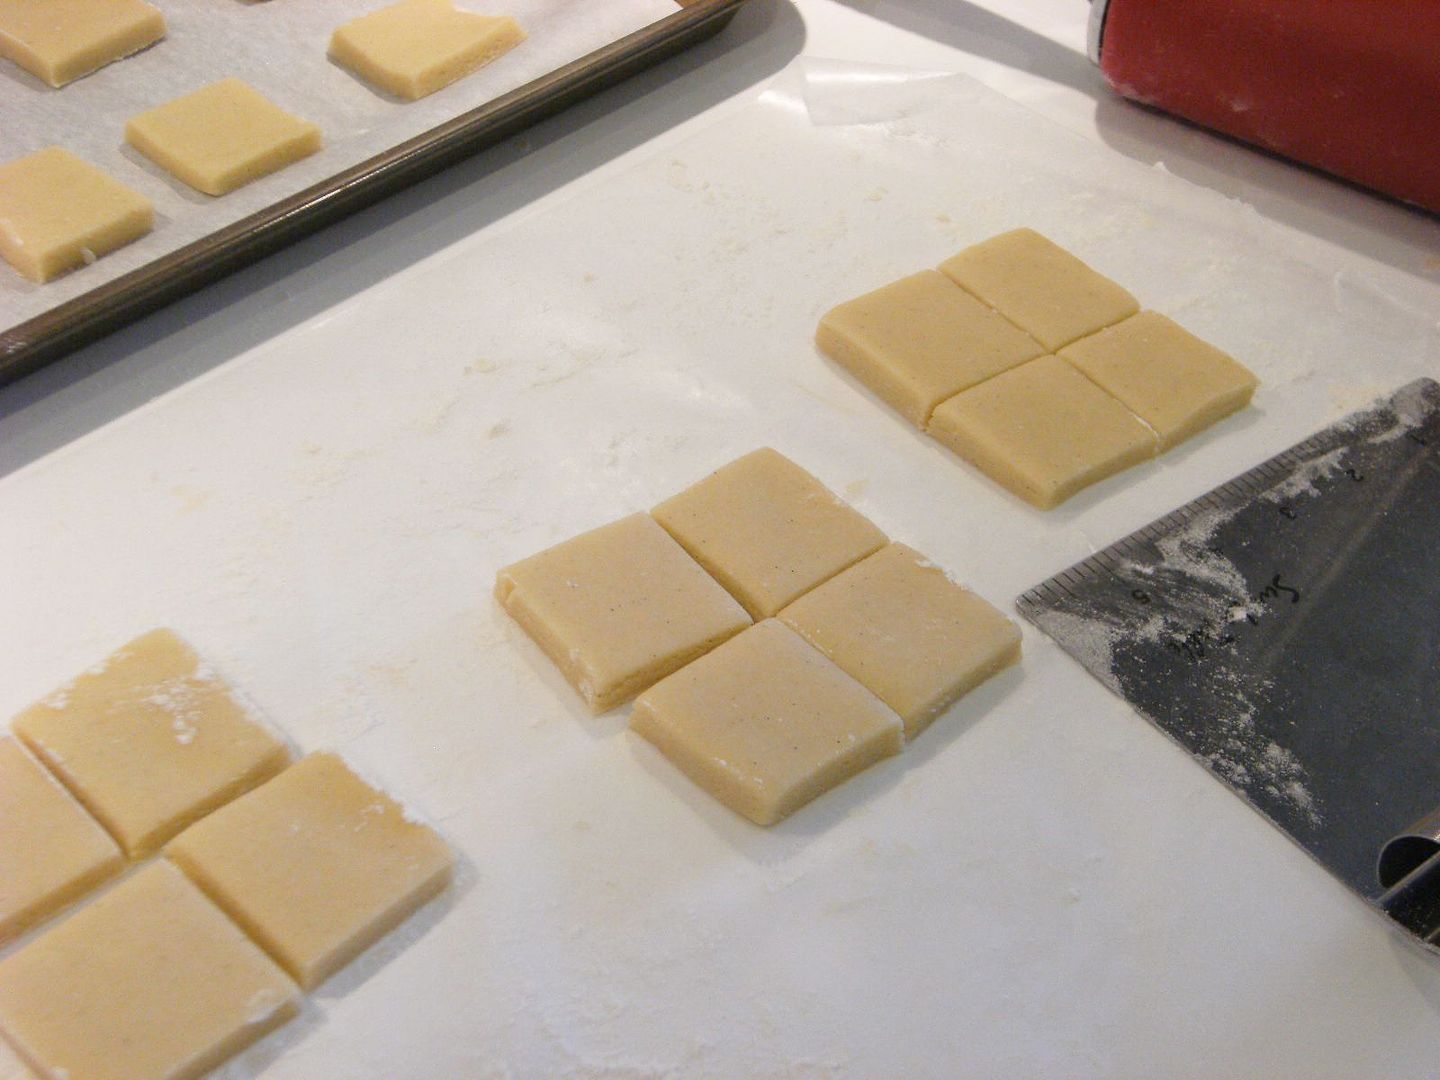
Using my bench scraper, I divided square cookies into fourths.
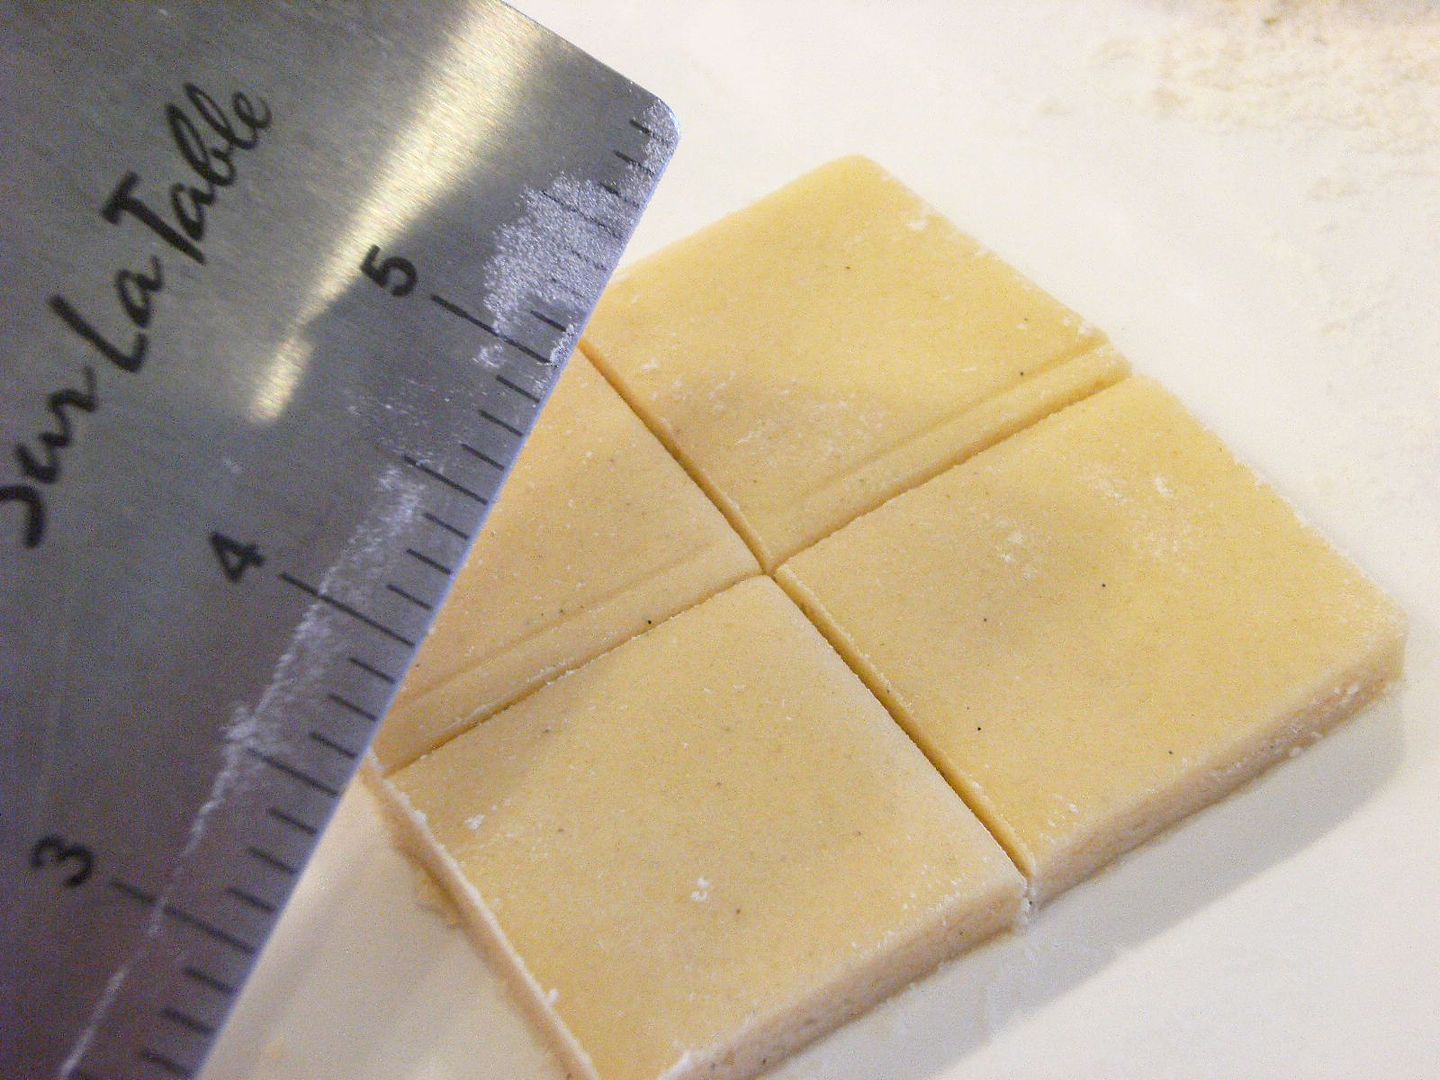
I jazzed up my usual cookie recipe with 3/4 tsp vanilla bean paste in place of the 1/2 tsp vanilla extract. Since they were smaller, I cut the baking time down by 2 minutes.
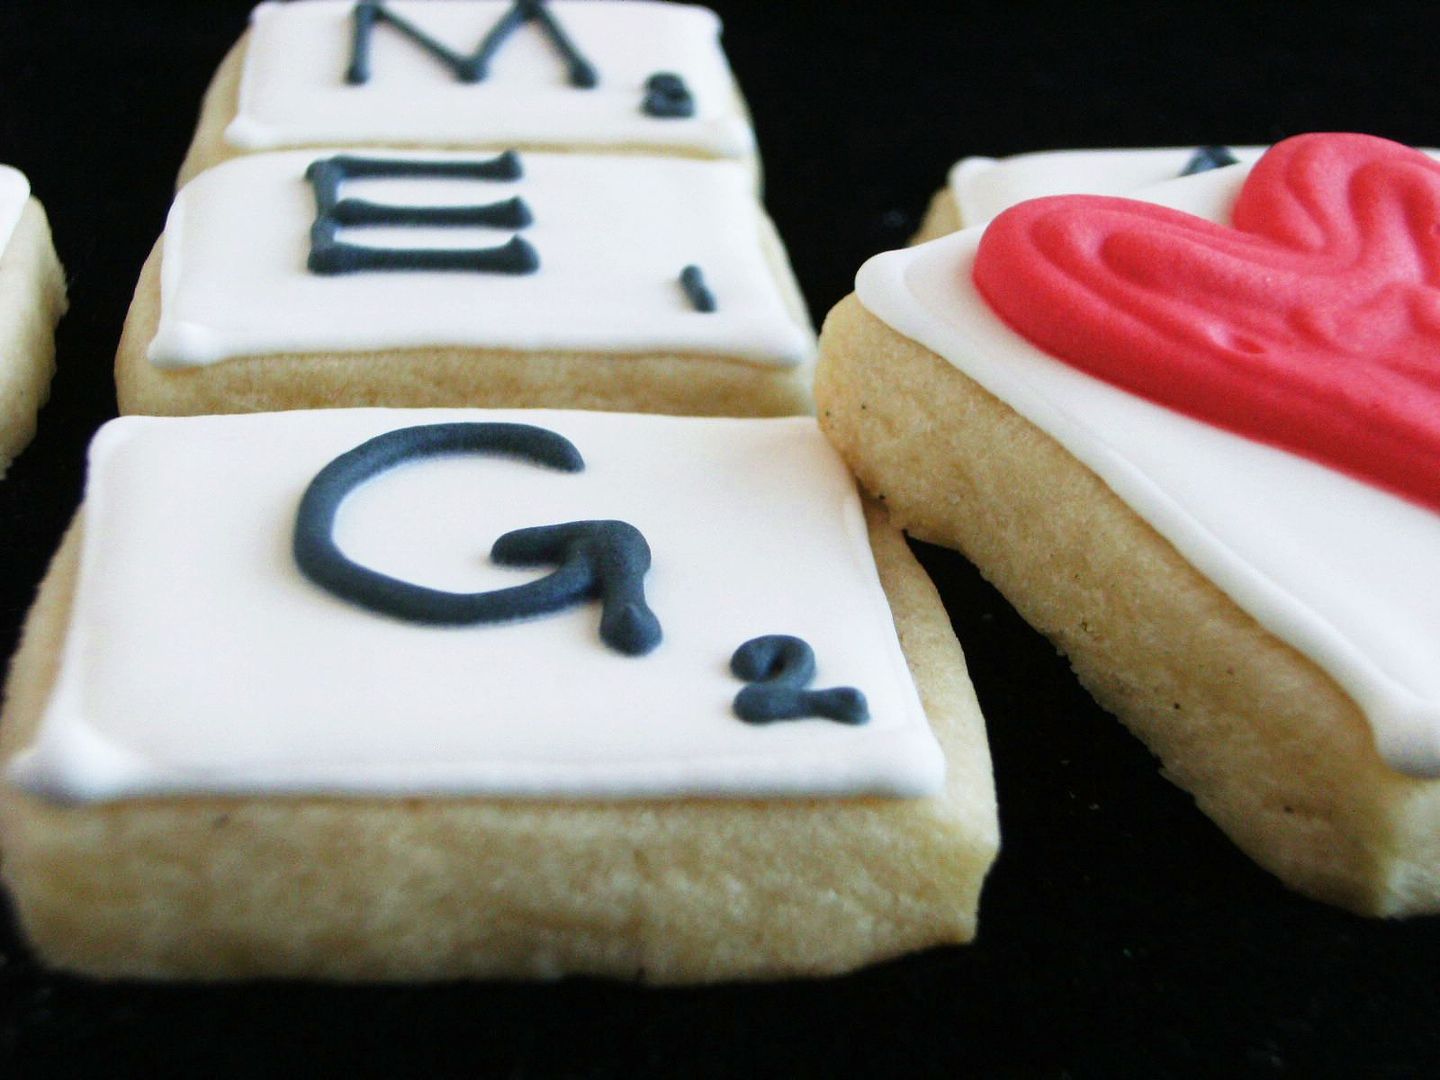
To decorate:
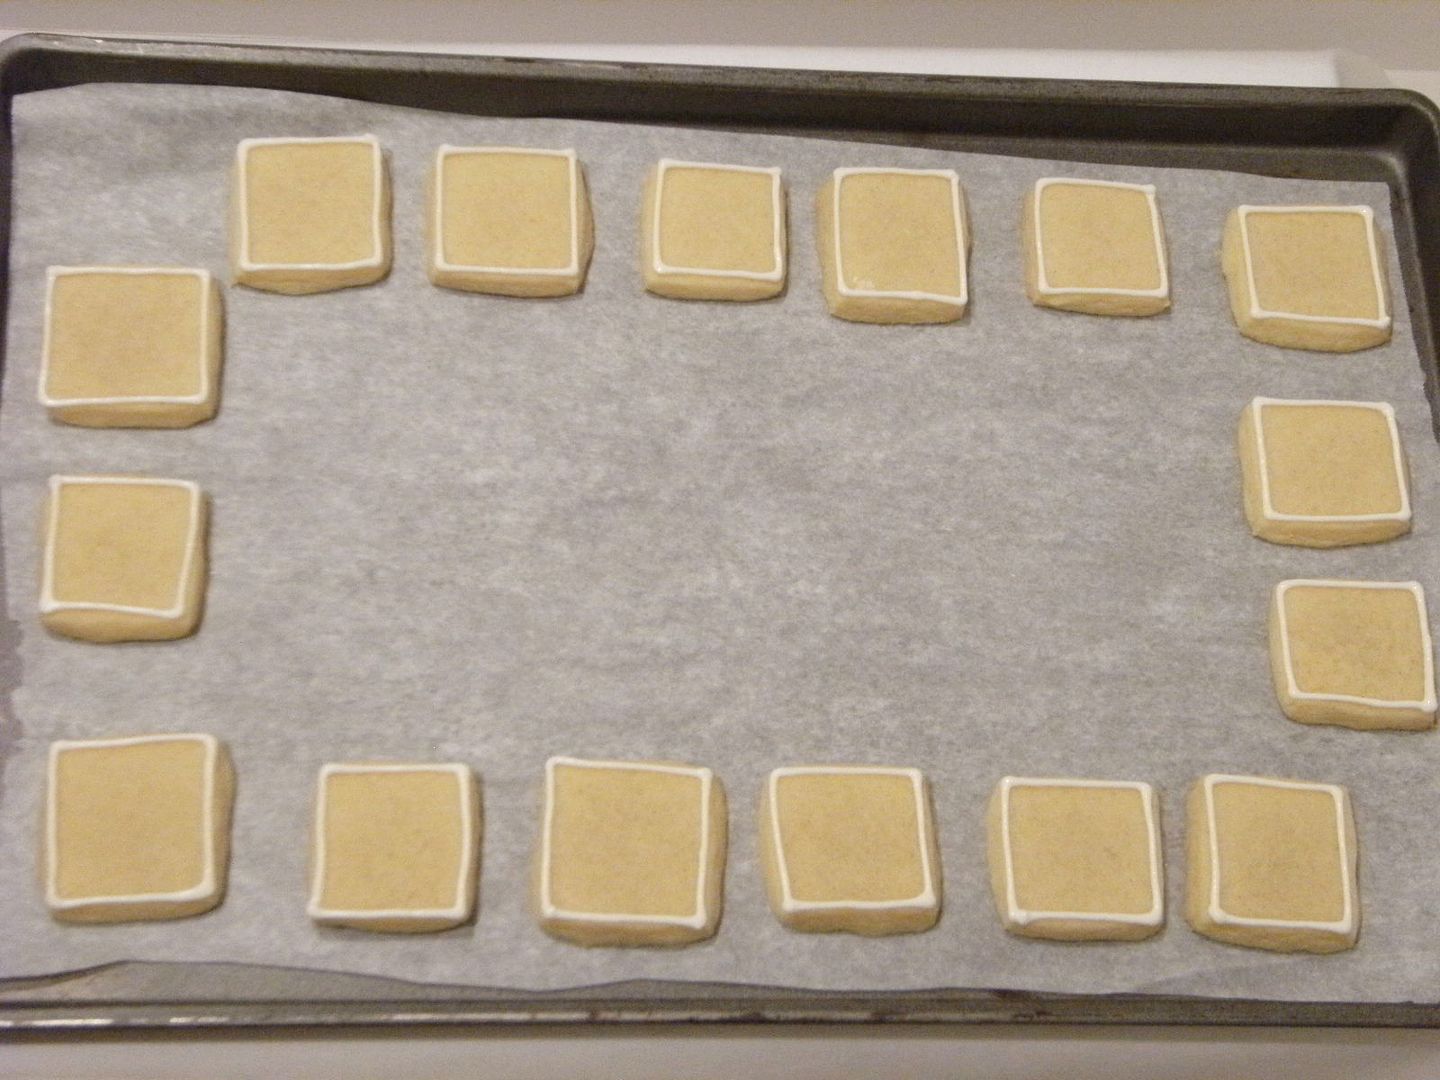
♥Outline each cookie with a #2 tip in ivory (AmeriColor Ivory).
♥Thin the royal icing with water, stirring in a teaspoon at a time until it is the consistency of a thick syrup. Cover with a damp dish towel and let sit for several minutes.
♥Stir gently with a rubber spatula to pop any air bubbles that have formed on the top and transfer to a squeeze bottle.
♥Fill in the cookies with the thinned icing. Use a toothpick to guide into the corners.
♥Let sit for at least 1 hour.
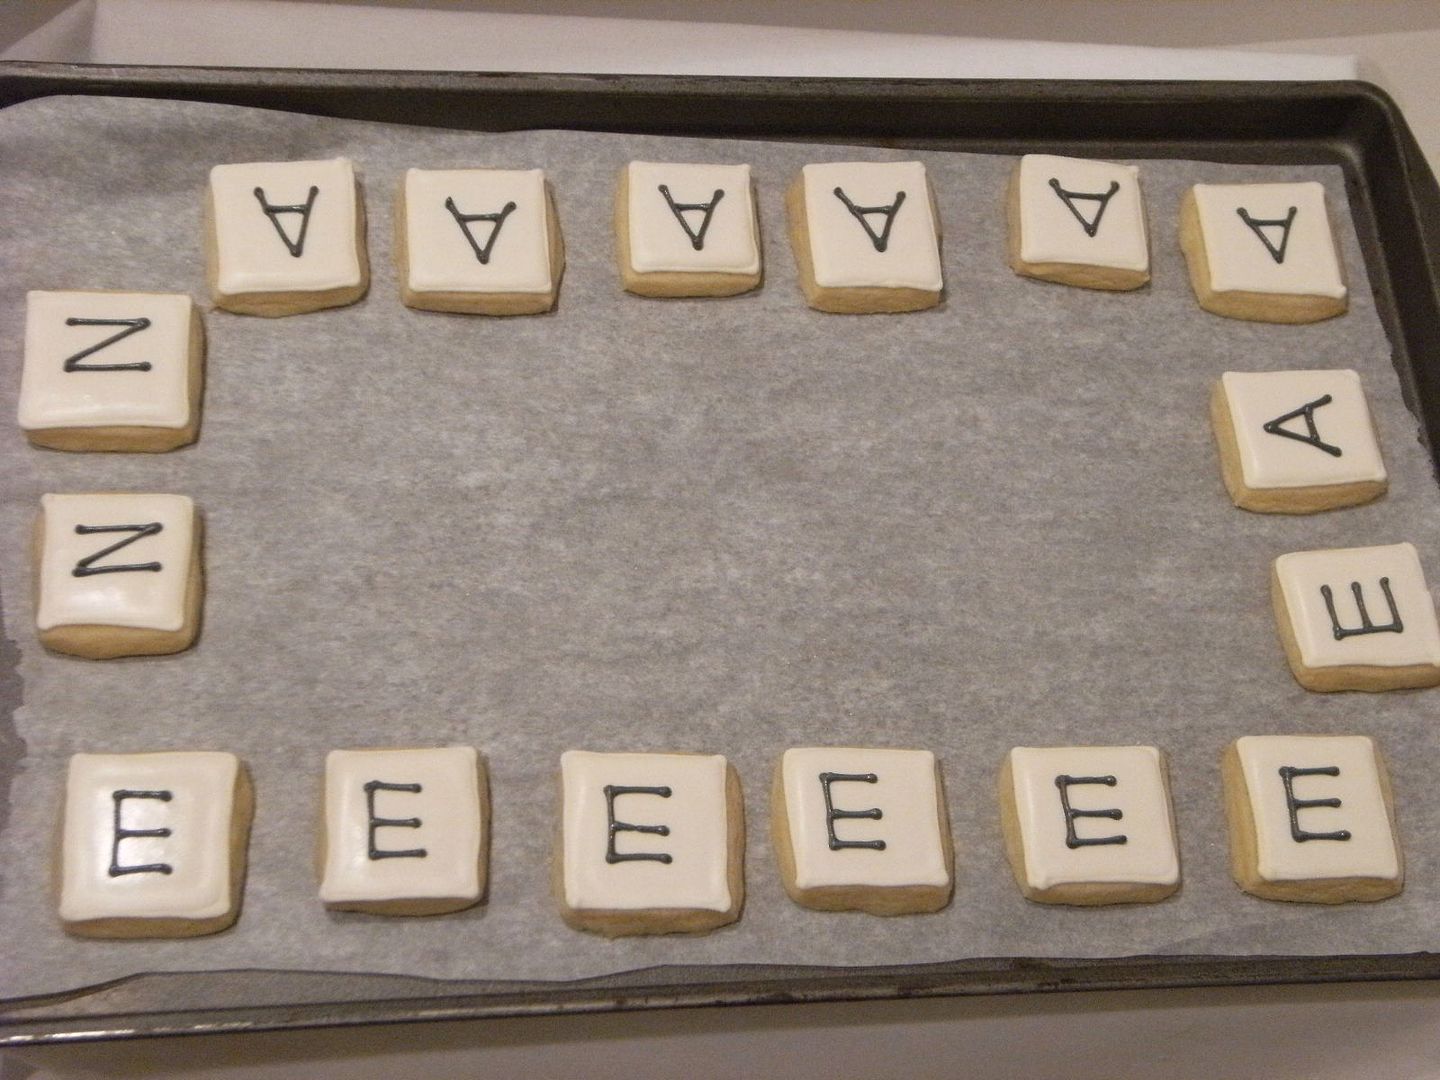
♥Using a #2 tip pipe the letters in black icing (AmeriColor Super Black).
{I tried to get as close the the Scrabble letters as possible.}
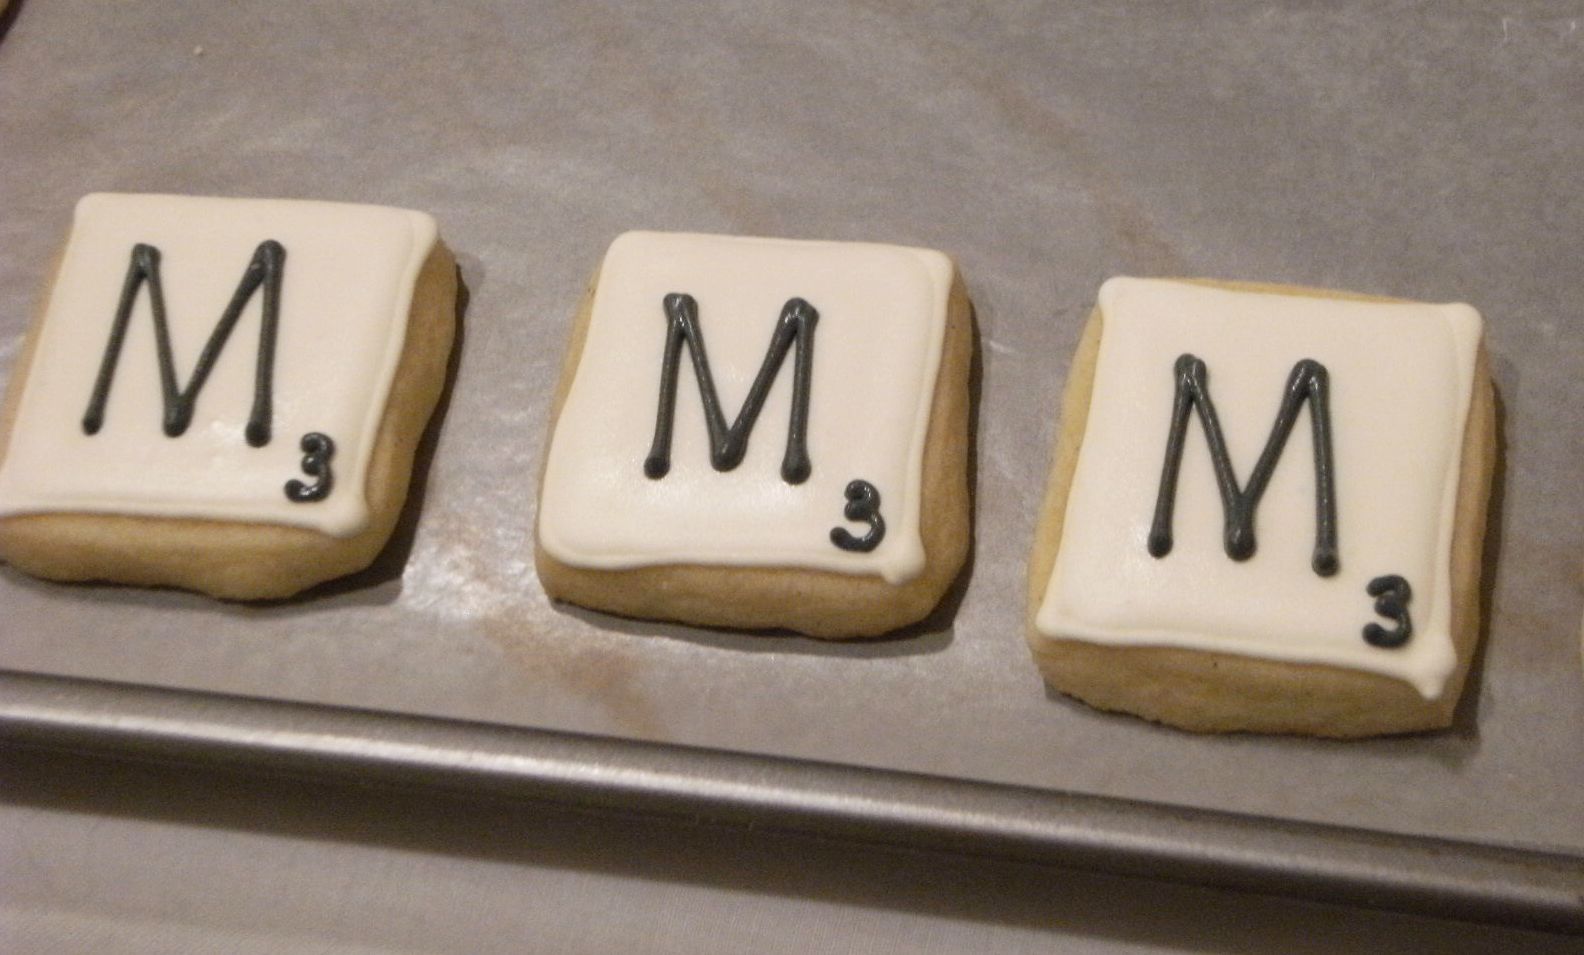
♥Switch to a #1 tip and add the point value for the letters in the corners.
♥With red icing and a #3 tip, pipe hearts on several of the cookies.
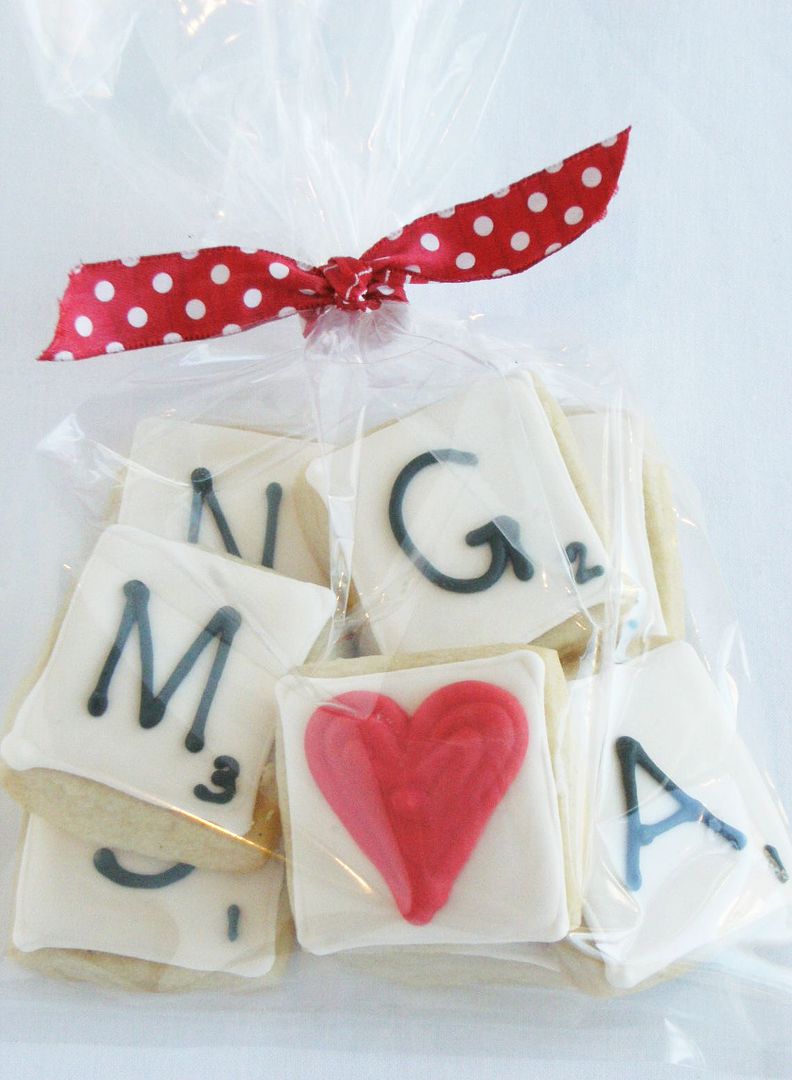
♥Let dry overnight and package.
{Wouldn't these be darling for Valentine's Day?}
Congratulations & best wishes Meg & Sean! Here's to a ♥sweet♥ life together! Cheers!
Related posts:
♥Yes, I said Yes! Engagement Cookies
♥For June Brides...
♥Valentine Cookies with va-va-va-vanilla
*updated...thank you all so much for your sweet comments, emails and tweets about my Nana, Marge. they meant so much to me!*
Wordscraper
January 28, 2010
This morning I received an e-mail from my friend that it was my turn on Wordscraper – which is the Facebook version of Scrabble. I have never been very good at Scrabble, my brain just lacks something that allows me to make words for points with little tiles. I know what you’re thinking, a person who is (a) attempting to become genius and (b) trying to improve her writing abilities, should not be admitting that. I suppose, like with everything, I will get better with practice. Today’s question is: what are some techniques for mastering Scrabble?
A: The first, and most obvious answer, is to improve your vocabulary. Many Scrabble masters become familiar with obscure or unusual words, which help to create words with awkward tiles. It is useful to know words that require many vowels as well as consonants to get rid of letters. It is also helpful to learn numerous two letter words - this allows players to increase their scores by making supplemental words from their main word. For example:
__Y
M O
A G
N A
Y
This player may have played the word YOGA, however they would also gain points for the words 'MO' 'AG' and 'NA'.
It is important for a player to know the game board, in order to take advantage of double and triple spaces. Use those spaces tactically, so not to give your opponent a chance to take advantage of them.
Arrange your tiles to make a word - preferably one that uses all seven letters. This is called a bingo and will add 50 extra points to a player's score. If a player does not have any tiles that will create words, it is suggested that they exchange tiles. It does result in missing a turn, but may allow for a higher word score.
Lastly, practice, practice, practice.
So, it seems that my tactic is good... I may not be a genius or have the ability to play Scrabble, but if I keep at it, who knows.
Sources:
ehow: How to improve your Scrabble game
Scrabble Help for the Average Game Player
Wikihow: How to improve your Scrabble score in 7 steps
Chocolate Sorbet- Vegan and Dairy-Free
 |
| Rich chocolate sorbet- without dairy. Pass the spoon. |
Two trends are sneaking in to recipe searches this week. The first? Super bowl recipes. You know, guy-style chicken chili and Crock-Pot crowd pleasers. Party food for the Big Game. Guacamole and hummus. Nachos. The second trend is a search closer to my own heart and its tender sensibilities. You may have already guessed it. Because you, Wonderful Reader, are smart, savvy and, well. Let's just gush a minute with appreciation. You are downright fabulous (with impeccable taste and discernment, I might add).
The second big trend is a search for romantic recipes and Valentine's Day inspiration. You're not surprised, are you? (See, I knew you were brilliant).
I'd much rather conjure up chocolate recipes than beans and burgers. Sexy food is more interesting than AstroTurf and lines of scrimmage and backfields in motion. And what the Hail Mary is a down, anyway? First down, fourth down. All these downs and off sides. It makes my head spin.
Three Clovers Designs with High Hopes stamps!
 Happy Friday Eve everyone!! YAY!! Isn't it so sad that I just live for the weekends? LOL! Well....that and vacations! (smile) It's time for a new challenge from Kerry over at Three Clovers Designs. The challenge is to use at least two images on your project, and words don't count!! I used these adorable new High Hopes stamps that I got from Lacey over at Stamp and Create! Have you heard that Dustin Pike is their newest artist? How exciting is that?! I fell in love with these aliens and had to have them. So I used the two different aliens, Chuck and Quentin, and the cute space post sign, and they're colored with Copic markers. The sentiment was printed off from my computer onto the sign. Chuck photographed really red, but he's actually orange in person. The grass was just drawn in with my Copic multi-liner.
The stars, scalloped frame, and photo corners were all cut out with the Cricut using my Gypsy that I got from Hallmark Scrapbook. That's it for today! Please be sure and pop over to Three Clovers Thursdays to see the rest of the fabulous projects from the DT. And then we'd love it if you'd play along with us! Thanks for stopping by to see me today, and hope to see you back again soon! Hugs!
I also entered this in High Hopes challenge this week for a project using three High Hopes Stamps! Wish me luck! Hugs!
recipe:
images: High Hopes from Stamp and Create
papers - DP unknown from scrap pile; cardstock is Bazzill
Tools: Cricut Expression with Storybook, Plantin Schoolbook, and Jasmine carts
misc: computer generated sentiment, dimensional tajpe
The Great Fire
January 27, 2010
In order to balance The Game’s required daily exercise and my Wednesday night writing class, I walk to George Brown College from Yonge and Bloor. This evening was considerably colder than the past few weeks and I found that I walked more quickly. The accelerated pace meant that I was early for my class and I decided that I would take the last stretch, from St. James Cathedral, at a more leisurely tempo. As I strolled, I noticed a placard on the side of a furniture shop. Upon closer inspection, it commemorated the rebuild after the Great Fire of Toronto. I am familiar of the details of the Great Fire of London, partially because of high school history class and also from living there, but I was unaware of the details of the Great Fire of Toronto. Today’s question is: what are the circumstances surrounding the Great Fire of Toronto?
A: Well, whaddya know, Toronto actually experienced two great fires in its time. The first fire was in April 1894 (which is the plaque that I read) and burned through 16 city blocks – from Front Street East to Adelaide Street and from George Street to Church Street.
View Larger Map
The cause and origin of the fire is still unknown, although the Bruce Bell society suggests that it began in a stable on King Street in the early morning hours. Ironically, the city’s Water Company burned to the ground, and citizens had to run with buckets to and from the lake to douse the flames. Amazingly, only one person died in the fire, a man named Richard Watson, while trying to save his office.
St. James Cathedral and St. Lawrence Hall were reconstructed on the sits of the predecessors. The fire also lead to the introduction of new fire regulations, which are still in existence today..
The second Great Toronto Fire was in April 1904 – nearly 10 years to the day. The E. & S. Currie Building on the north side of Wellington Street, west of Bay was where the fire originated, however how it happened is still debated. Some say the source was faulty electrical wiring, others say it a stove was left on. Whatever the source, the fire quickly spread and by the end of it, one-hundred and twenty two buildings burned and 230 businesses were lost. Surprisingly, not one life was lost in the fire, but financial loss was estimated at 10-million dollars.
Interestingly, The Great Fire of 1904 was one of the first news events in Toronto to be filmed. George Scott, a local filmmaker, used his camera to film horse-drawn pumper trucks racing down Bay Street.
Sources:
Photos of the fire are courtesy The Toronto Archives (to be posted)
National Post. Back Story: Burning Questions about Toronto’s Great Fires. Barry Hertz. August 21, 2008
City of Toronto Archives: The Great Fire of 1904
The Toronto Star. The Great Fire of 1904. Adam Mayers. August 5, 2008
In Memory of Marge . . .
When my uncle's call came yesterday, it wasn't a surprise. My grandmother had been sick with Alzheimer's and lung cancer for a while now. Almost ten years after we lost my mom, Nana is joining her and my grandfather....wouldn't that be cool if they greeted her with a Goldie's Hamburger? ;)

My Nana's picture just might be in your dictionary under the word "character." She went to mass every morning and her favorite word was "sh@#." {That's the truth.} She was the craziest dancer at every wedding (though, my Uncle Mike & my sister are running neck & neck for that title now).
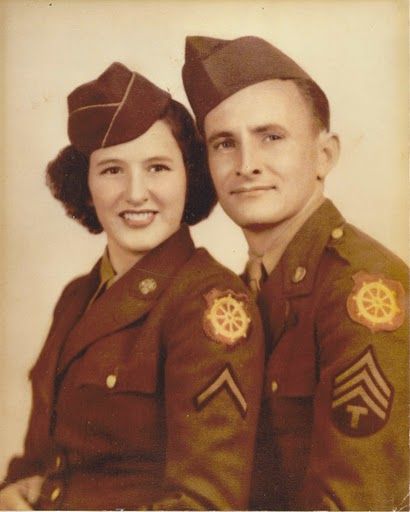
She was in the Women's Army Corps in WWII and she and my papa got engaged at Pat O'Briens in New Orleans. {No wonder I like those Hurricanes so much!}

{Here we are in 1979. Nana had that same hair-do for 40 years. I'm on the left. Knee socks & sandals were high fashion apparently.}
Now, to me, Marge wasn't known as a cook or a baker. I remember her with a crochet hook in her hand rather than in the kitchen. But every time we visited, there were always two cream pies in the fridge...always chocolate and either lemon or coconut. She was famous for her "macaroni & meat" (pasta, tomato sauce and ground beef....totally kid heaven) and made a mean whiskey sour.
So, I made a Chocolate Cream Pie in her honor.

Chocolate Cream Pie
{Recipe modified from Food & Wine magazine}
6 ounces, about 1 & 1/2 c. Oreos (just the wafer part), or chocolate wafer cookies
4 1/2 tablespoons unsalted butter, melted
2 tablespoons granulated sugar
Pinch of fine sea salt
2 cups whole milk
1/2 cup plus 2 tablespoons granulated sugar
3 egg yolks
1/4 cup cornstarch
1/4 teaspoon fine sea salt
4 ounces semisweet chocolate, chopped
1 ounce unsweetened chocolate, chopped
3/4 cup heavy cream
1 teaspoon pure vanilla extract
make the crust: Preheat the oven to 350°.
Using a food processor, finely grind the Oreo cookies (not the creamy centers...do with them what you will).

In a medium bowl, mix the cookie crumbs with the sugar and salt. Stir in the melted butter until the crumbs are evenly moistened.
Pour the mixture into a 9-inch glass pie dish and press evenly over the bottom and up the side of the dish to form a crust. Bake for 8 minutes, until the crust is fragrant.
Remove from the oven and, using the bottom of a drinking glass, immediately press the crumbs again to compact the crust. (brilliant idea from F&W!) Let cool completely.
make the filling: In a large bowl, whisk the egg yolks with 1/4 cup of the sugar, the cornstarch and salt. Set aside.
In a medium saucepan, heat the milk with 1/4 cup of the sugar until bubbles form around the edge. Gradually whisk the hot milk mixture into the yolk mixture.
Pour into the saucepan and cook over moderate heat, whisking constantly, until very thick, about 3 minutes.

Remove from the heat and whisk in the semisweet and unsweetened chocolate until smooth. Strain the chocolate filling into the pie crust through a coarse sieve (this does not work with a fine sieve, I tried!) and smooth the surface with a rubber spatula.
Press a piece of plastic wrap directly on the surface of the pie filling and refrigerate for 3 hours, until chilled.


Nana...we will miss you. The dance floor at the next family wedding won't be the same without you. And, I'll think of you the next time I say, "sh@#"...it shouldn't be long.

{Works for Me Wednesday and the "troubleshooting" post will be back next week.}
{This is Nana with my mom, 1945.}
My Nana's picture just might be in your dictionary under the word "character." She went to mass every morning and her favorite word was "sh@#." {That's the truth.} She was the craziest dancer at every wedding (though, my Uncle Mike & my sister are running neck & neck for that title now).
{This was always the picture I would stare at when I visited. I love this picture!}
She was in the Women's Army Corps in WWII and she and my papa got engaged at Pat O'Briens in New Orleans. {No wonder I like those Hurricanes so much!}
{Here we are in 1979. Nana had that same hair-do for 40 years. I'm on the left. Knee socks & sandals were high fashion apparently.}
Now, to me, Marge wasn't known as a cook or a baker. I remember her with a crochet hook in her hand rather than in the kitchen. But every time we visited, there were always two cream pies in the fridge...always chocolate and either lemon or coconut. She was famous for her "macaroni & meat" (pasta, tomato sauce and ground beef....totally kid heaven) and made a mean whiskey sour.
So, I made a Chocolate Cream Pie in her honor.
Chocolate Cream Pie
{Recipe modified from Food & Wine magazine}
6 ounces, about 1 & 1/2 c. Oreos (just the wafer part), or chocolate wafer cookies
4 1/2 tablespoons unsalted butter, melted
2 tablespoons granulated sugar
Pinch of fine sea salt
2 cups whole milk
1/2 cup plus 2 tablespoons granulated sugar
3 egg yolks
1/4 cup cornstarch
1/4 teaspoon fine sea salt
4 ounces semisweet chocolate, chopped
1 ounce unsweetened chocolate, chopped
3/4 cup heavy cream
1 teaspoon pure vanilla extract
make the crust: Preheat the oven to 350°.
Using a food processor, finely grind the Oreo cookies (not the creamy centers...do with them what you will).
In a medium bowl, mix the cookie crumbs with the sugar and salt. Stir in the melted butter until the crumbs are evenly moistened.
Pour the mixture into a 9-inch glass pie dish and press evenly over the bottom and up the side of the dish to form a crust. Bake for 8 minutes, until the crust is fragrant.
Remove from the oven and, using the bottom of a drinking glass, immediately press the crumbs again to compact the crust. (brilliant idea from F&W!) Let cool completely.
make the filling: In a large bowl, whisk the egg yolks with 1/4 cup of the sugar, the cornstarch and salt. Set aside.
In a medium saucepan, heat the milk with 1/4 cup of the sugar until bubbles form around the edge. Gradually whisk the hot milk mixture into the yolk mixture.
Pour into the saucepan and cook over moderate heat, whisking constantly, until very thick, about 3 minutes.
Remove from the heat and whisk in the semisweet and unsweetened chocolate until smooth. Strain the chocolate filling into the pie crust through a coarse sieve (this does not work with a fine sieve, I tried!) and smooth the surface with a rubber spatula.
Press a piece of plastic wrap directly on the surface of the pie filling and refrigerate for 3 hours, until chilled.
{Nana made this ♥ doily!}
Let the pie stand at room temperature for 10 minutes. Meanwhile, in a medium bowl, beat the cream with the remaining 2 tablespoons of sugar and the vanilla until firm. Spread the whipped cream over the pie, cut into wedges and serve, garnished with chocolate shavings, if desired.Nana...we will miss you. The dance floor at the next family wedding won't be the same without you. And, I'll think of you the next time I say, "sh@#"...it shouldn't be long.
{Works for Me Wednesday and the "troubleshooting" post will be back next week.}
Subscribe to:
Posts (Atom)